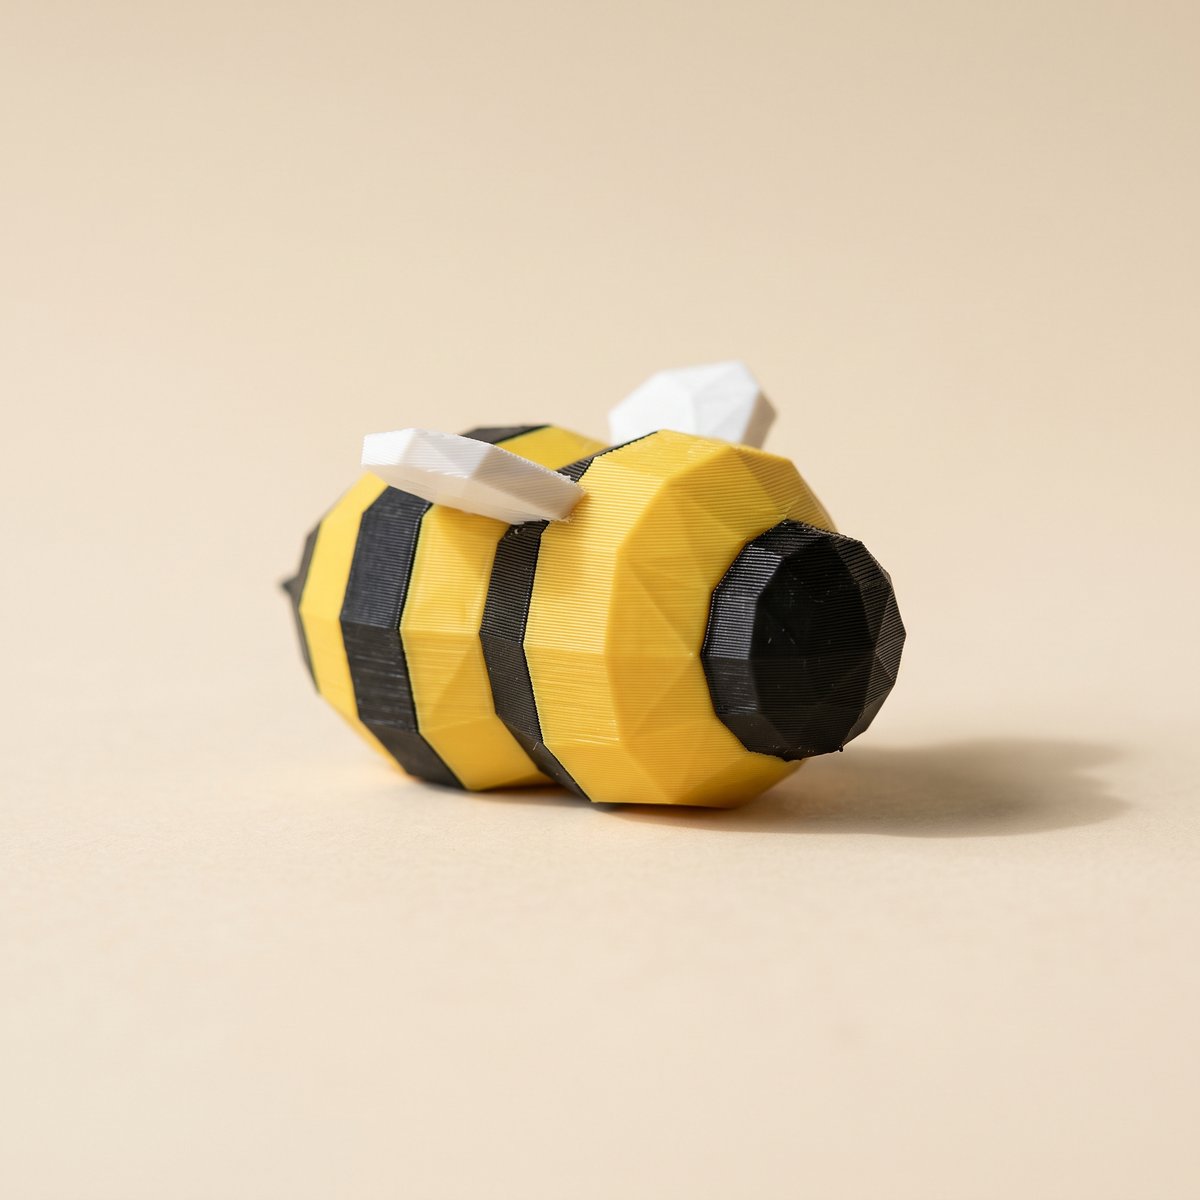
TL;DR: Raise the flushing-volume multiplier in Creality Print to 0.6–0.8 and reslice. That one change stopped K2 Plus color bleed for owners on the Creality forum across a year of multicolor printing. A stubborn pair like black into white sometimes needs its individual flush value raised another 50–100 mm³, and 1.0 is the rare ceiling. This guide covers where the setting lives, what to set, and how to test it.
What flushing multiplier stops K2 Plus color bleed?
A flushing-volume multiplier of 0.6 to 0.8 in Creality Print stops K2 Plus color bleed for most filament combinations. The multiplier scales every value in the flushing matrix, so the printer purges more of the previous color before the next one lays down. Owners on the Creality forum report clean transitions at 0.6–0.8 across twelve months of multicolor prints, with 1.0 needed only for the worst dark-to-light pairs. The cost is extra purge waste on every swap.
These numbers come from K2 Plus owners, not from us. In the Creality forum thread on flushing volumes for K2 Plus color prints, Stumpy runs 0.6–0.8 on every multicolor job: "I'm not seeing any bleeding of colors or different specs of colors where they shouldn't be." Only two prints in twelve months pushed him to 1.0. In the same thread, leroylll runs a K1 Max, which uses the same slicer, at 0.8 and gets no bleed from blue or black into white. Two different machines landing on the same range is why this is the first thing to change.
Why the CFS bleeds dark into light
The hotend always holds a little of the last filament. When the CFS swaps from black to white, that leftover black has to go somewhere, and the flush routine is what pushes it out before the white starts printing. If the flush volume for that transition is too small, the leftover ends up in your print instead, as gray streaks or dark specks in the first areas the new color lays down.
Bleed runs one direction in practice. Light filament contaminating a dark region is invisible. Dark contaminating light is what you see, which is why the symptom is always "black got into my yellow" and never the reverse. The factory flush values lean low to save filament, so high-contrast prints show K2 Plus color bleed before anything else does.
Step 1 — Open the flushing volumes in Creality Print
On the Prepare screen, with your K2 Plus profile active, open the flushing volumes control next to the filament list. You get a grid with one value per color transition, and a multiplier field that scales the whole grid at once.
Step 2 — Set the multiplier to 0.6
Start at 0.6, the low end of the range the forum settled on. Every value in the grid scales up together, so each swap purges more of the old color before the new one prints. Don't jump straight to 1.0; the waste adds up on a print with many swaps, and most jobs don't need it.
Step 3 — Raise the worst pairs another 50–100 mm³
If one specific handover keeps bleeding, black into white being the usual suspect, click that cell in the grid and add 50–100 mm³ to it directly. Biasing the single bad pair beats raising the multiplier for everything, because you pay the extra purge only where contamination actually shows.
Step 4 — Reslice and print a test
Flush values apply at slice time, so reslice before you judge anything. A small two-color model with a dark and a light filament sharing layers is a fast check, because that pairing is where K2 Plus color bleed shows first. Look at the light regions right after each swap. Clean means you're done.
Step 5 — Still bleeding? Go to 0.8, then 1.0, and update
Move to 0.8 if streaks survive 0.6. And update both Creality Print and the printer firmware before you chase it further: in the same forum thread, dunbir's purge behavior only settled down after updating, reporting "about 2-3 purges between 2 colors" with accurate time and filament estimates afterwards. If you're on old firmware you may be tuning around a bug that's already fixed. The other color bleed reports on the forum follow the same shape: specks of the previous dark color in the first light regions after a swap.
Flushing fixes contamination between swaps. If colors smear where two painted regions meet on the model itself, that's a different failure with its own fixes: see stopping multicolor paint bleed.
Fewer flush transitions to pay for
Every dark-to-light handover inside a layer is a flush you're now paying more for. That count is set before Creality Print ever opens, by how the model is painted. When you paint a model in Layerpaint, each palette slot becomes a filament slot in the slicer, so the number of high-contrast neighbors in your paint job is the number of expensive swaps in your print. The import itself is covered in opening a Layerpaint 3MF in Creality Print with a CFS.
Running a Bambu machine too? The same calibration lives in Bambu Studio's flush matrix, walked through in calibrating flushing volumes for a painted 3MF.
Common questions
Does a higher flushing multiplier waste filament?
Yes. Each swap purges more material into the waste chute, and a multicolor print has a lot of swaps. That's why the forum consensus starts at 0.6–0.8 rather than 1.0, and why raising one bad pair by 50–100 mm³ is better than maxing the whole grid. A little purge waste still beats a ruined six-hour print.
Why does K2 Plus color bleed only show up going dark to light?
It happens in both directions; you can only see one. A trace of white inside a black region disappears. A trace of black inside white reads as gray streaks immediately. Tune for your dark-to-light pairs and the invisible direction takes care of itself.
Does the 0.6–0.8 range apply to the K1 Max and other CFS printers?
The confirmations in the thread cover the K2 Plus and the K1 Max, both driven by Creality Print, and leroylll's K1 Max runs clean at 0.8. Other CFS machines use the same slicer and the same flushing grid, so the range is the right starting point, but test with your own filaments.
Should I update firmware before tuning flush values?
Update first. One owner's purge count and time estimates only became accurate after updating Creality Print and the printer firmware together. Tuning flush values on top of outdated firmware means you may be compensating for a bug that an update already removed.
Try it now
The flushing multiplier handles the printer side. For the paint side, drop an STL on the Layerpaint painter, pick real filament colors, and export a standard 3MF that Creality Print opens with every color in place. Your first export is free, then $6.97 for your next 10 exports, or $39.97 unlimited. No subscription.