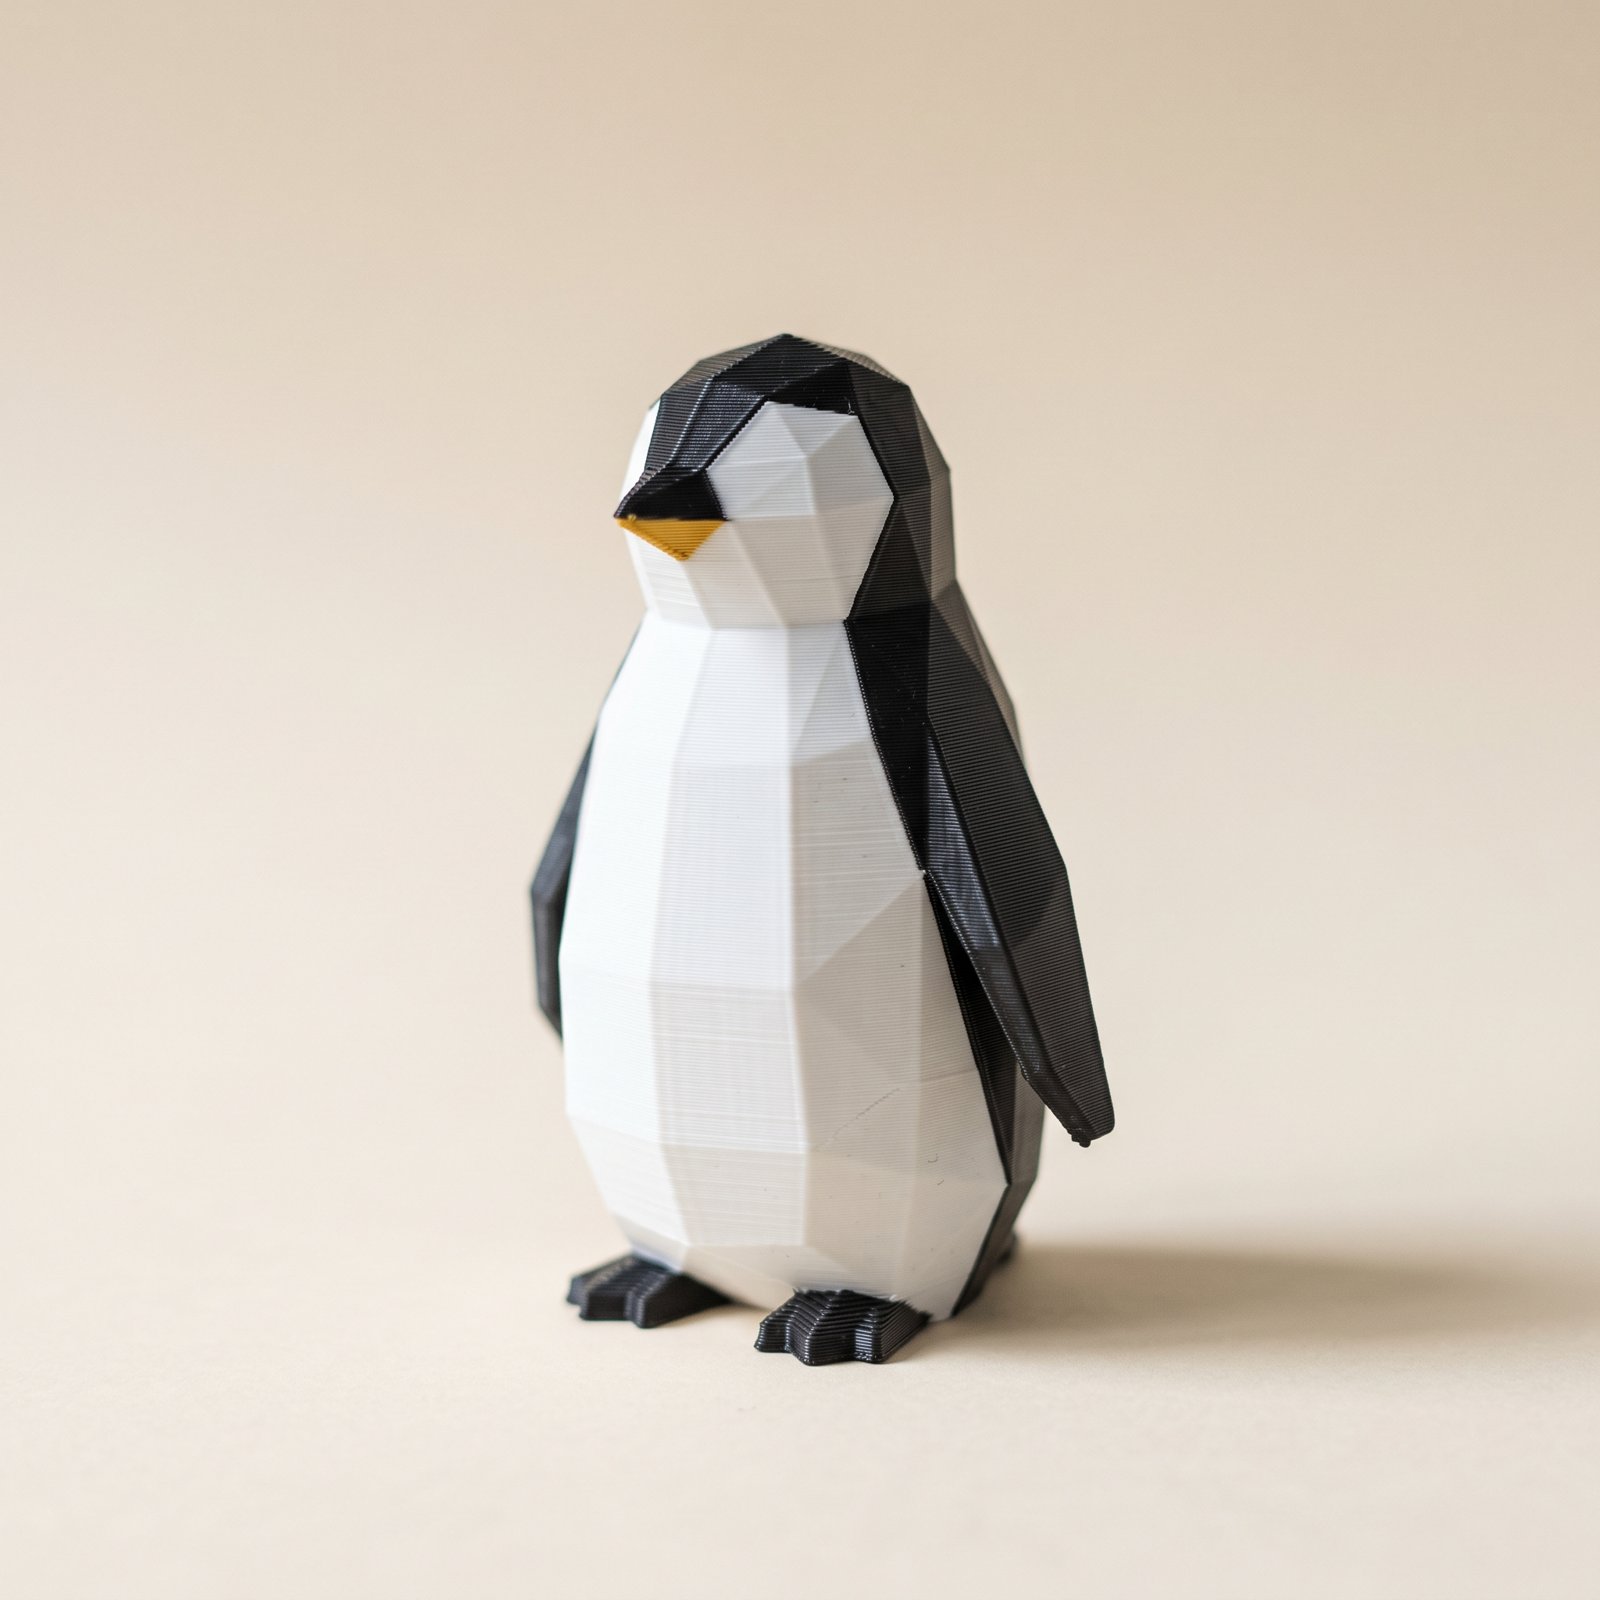
TL;DR: MMU3 color bleed after a dark-to-light filament change means the purge volume is too low. The defaults, roughly 70–100 mm³, don't clear black pigment out of the melt zone, so the white that follows picks up a gray tint. Owners across the Prusa forum keep landing on the same fix: raise the purge-on-load value for the light filament to about 300 mm³. This guide covers how to confirm the symptom, where the Purge Volumes dialog lives in PrusaSlicer, and which transitions can stay cheap so you don't waste filament in both directions.
Why does white filament turn gray on an MMU3?
White prints gray on an MMU3 when the purge after a dark filament is too small. Pigment from the previous color is still sitting in the nozzle and melt zone when the printer returns to the model, so the first white extrusions carry a gray tint. The default purge volumes of roughly 70–100 mm³ work for similar colors, not for black-to-white changes. Raising the purge-on-load value for the light filament to around 300 mm³ clears the residue before the model resumes.
The symptom is unmistakable once you know it. One owner on the Prusa forum, n3wtron, described printing "in 3 different colors with just 2 filaments": black, white, and an unplanned gray wherever white followed black. The wipe tower is supposed to absorb that transition, but it only purges as much as the settings tell it to.
Dark pigments are strong. A trace of black carbon or blue dye tints a whole nozzle-load of white, while a trace of white disappears into black without anyone noticing. That asymmetry is the entire story here, and it's why the fix is lopsided on purpose.
Step 1 — Confirm it's MMU3 color bleed, not wet filament
MMU3 color bleed shows up right after a color change and fades as the layer goes on: gray at the start of the white section, cleaner a few centimeters in. If the tint is uniform across the whole print, look at the filament instead: damp filament and translucent whites tint everywhere, not just after changes. Gradual tinting at color changes is also a different problem from paint bleed in the painted model itself, which happens in the file, not the extruder.
Step 2 — Open the Purge Volumes dialog in PrusaSlicer
On the plater, with a multi-material printer profile active, the Purge volumes button sits to the right of the infill option. It opens a grid with an unloaded and loaded value for each filament. The loaded value is the one that matters for MMU3 color bleed: it's how much the printer purges after the new filament arrives in the nozzle.
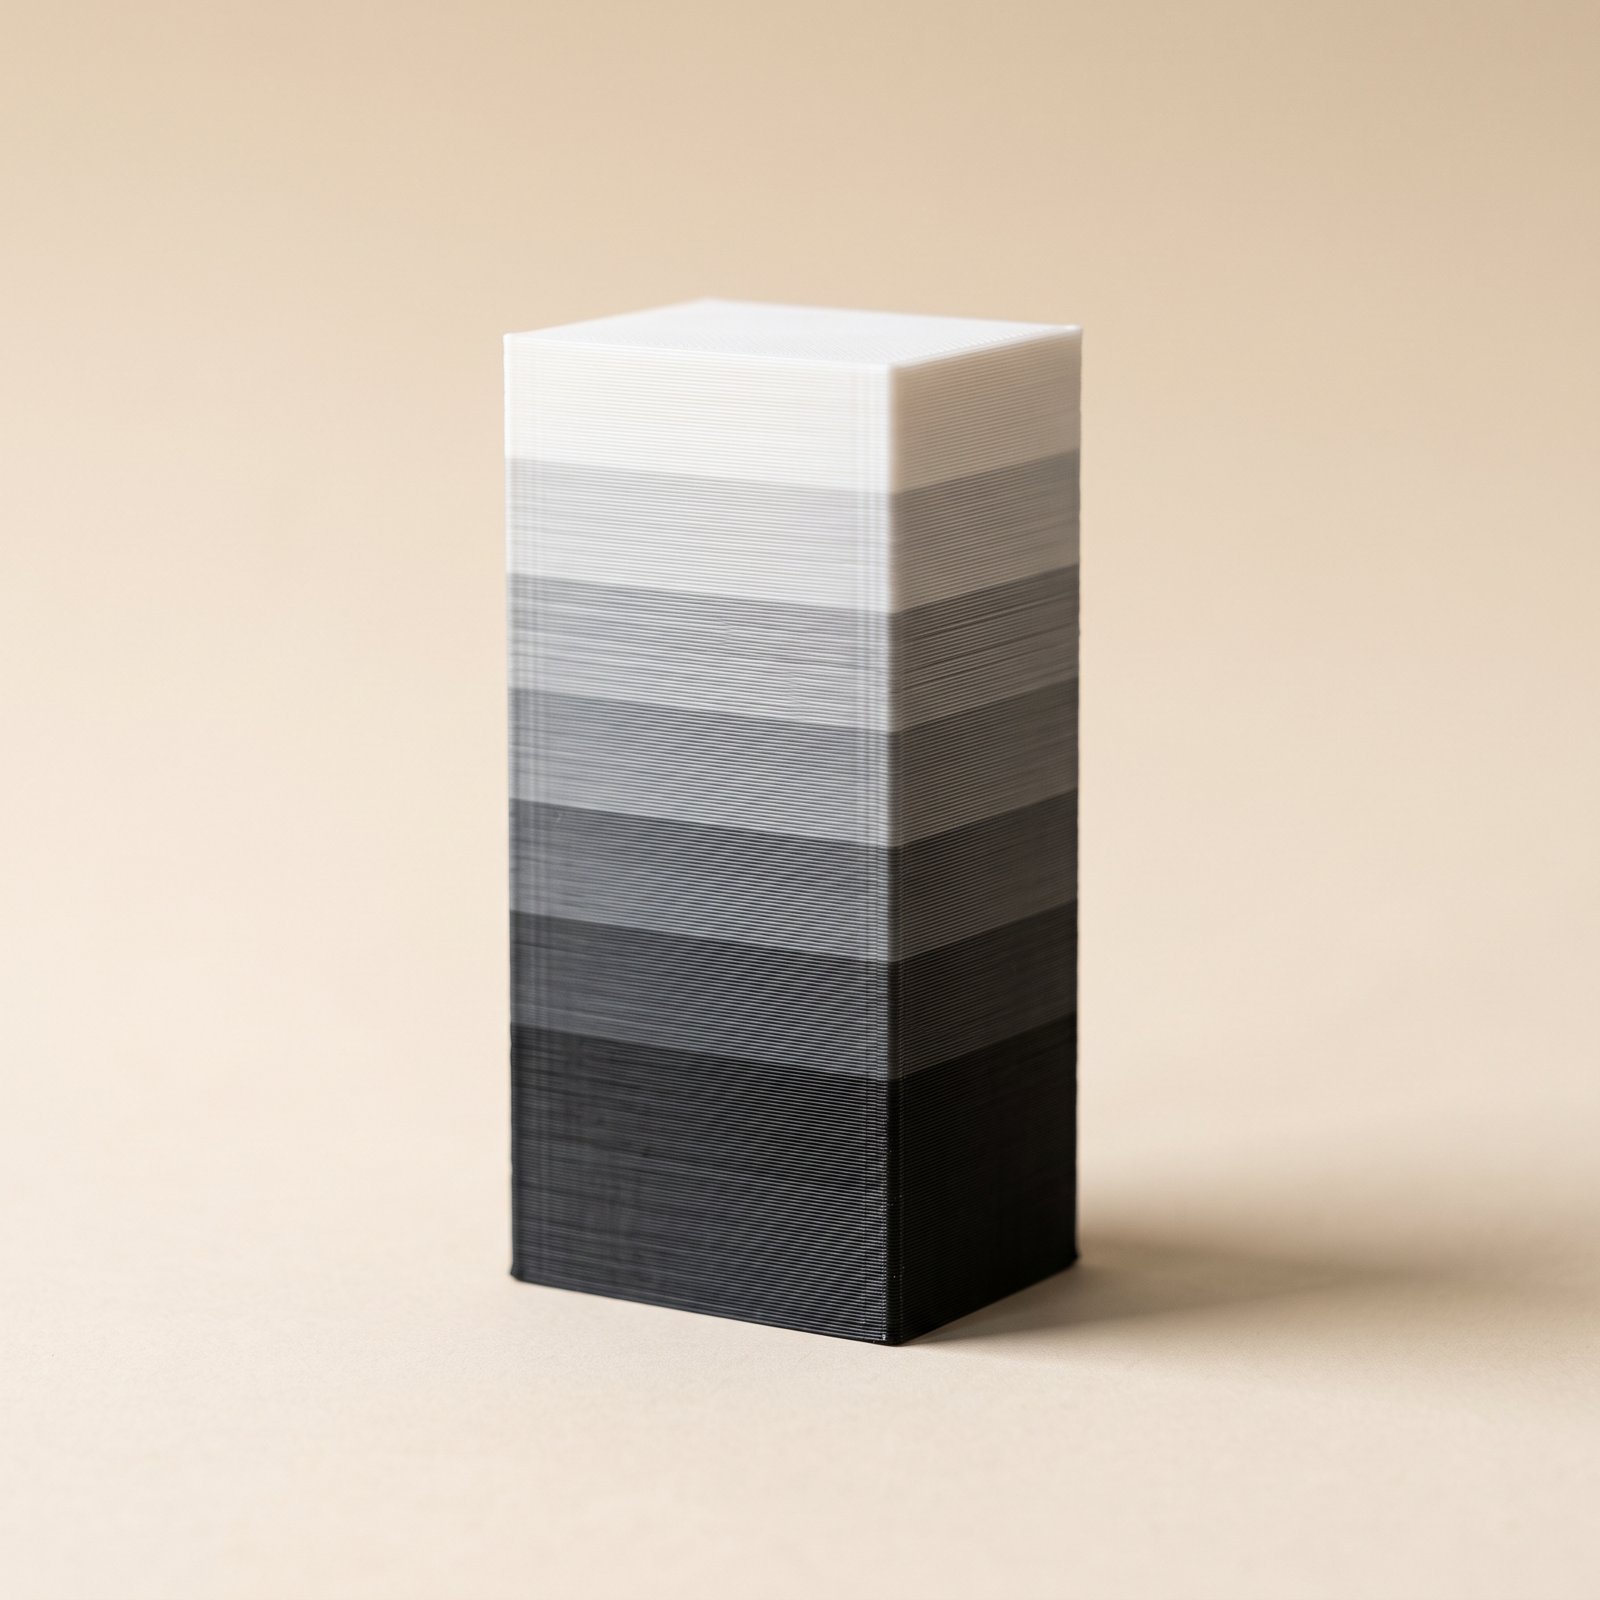
Step 3 — Set the loaded value to about 300 for dark-to-light changes
This is the number the community keeps arriving at independently. Forum regular K7ZPJ, in two separate threads, gives the same value: "For Black to White Changes I use 300 for the white load value", and elsewhere, that you need "around 300 to stop all of previous color from bleeding into the white". Nobody handed them that number. It's where you end up after a few ruined whites.
So: find the row where your light filament loads after a dark one and set the loaded value to 300 mm³. If you run a high-flow nozzle, or you're purging PETG, go higher still, 300–400. The fix isn't ours, to be clear. We're just collecting what MMU3 owners verified in public.
Step 4 — Keep the reverse direction cheap
Black loading after white barely needs a purge. Another owner in the color-bleed threads, Patriot50, runs red at 35, blue at 90, and silver at 110 mm³ with minimal purge on the wipe tower, and reports clean prints. Copying 300 into every cell wastes filament on transitions that never needed it. Raise only the dark-to-light cells and leave the rest near default.
Prefer one knob over a grid? Printer Settings → Single extruder MM setup holds the global purge behavior, and Filament Settings → Advanced has a Purge Volume Multiplier that scales a stubborn filament's purges without touching the table. The per-transition grid is still the precise tool, because it's the only one that knows black-to-white is not white-to-black.
Step 5 — Reslice and read the wipe tower
Reslice and check the preview: the wipe tower should visibly grow for the transitions you raised. Print, then look at the tower itself. You want the gradient to finish inside the tower, ending in clean white before the nozzle returns to the model. Still seeing a faint tint in the print? Add another 50 mm³ to that transition and go again. Most MMU3 color bleed dies at 300; stubborn pigments occasionally want the extra step.
If your models come from a painted 3MF, this is the same job Bambu owners do in their slicer. The flushing volumes calibration for painted 3MFs covers that side, and the logic transfers: purge generously into light colors, stingily into dark ones.
Common questions
Is the Purge Volume Multiplier the same as the purge volumes grid?
No. The multiplier (Filament Settings → Advanced) scales every purge involving that filament. The grid on the plater sets each pair individually. The grid fixes MMU3 color bleed with less waste, because only the dark-to-light cells need to be big.
Doesn't 300 mm³ per change waste a lot of filament?
300 mm³ is about 0.37 g of PLA. A print with twenty black-to-white changes spends roughly 7 g of filament keeping the white clean, and nothing extra on the reverse transitions if you left them low. A ruined print costs more.
Do high-flow nozzles need more purge?
Yes. A high-flow melt zone holds more plastic, so the old color lingers longer. Owners running high-flow setups report needing 300–400 mm³, with PETG at the top of that range.
Does this apply to painted models from Layerpaint?
Yes. A painted 3MF opens in PrusaSlicer with each color mapped to an MMU slot, and from there the purge settings behave exactly as described above. Set the dark-to-light cells high and the painted colors come out the way you painted them.
Try it now
The purge grid keeps your whites white. The paint job is the other half. Layerpaint paints per-triangle color on an STL in your browser and exports a 3MF that PrusaSlicer opens with the colors already assigned. Drop a model on the painter and try it. Your first export is free, then $6.97 for your next 10 exports or $39.97 unlimited. No subscription.