TL;DR: There are three ways to get a multicolor 3D print: swap filament at a layer change (free, but you only get horizontal bands), feed one nozzle from a multi-material unit like a Bambu AMS or Prusa MMU3 (any color anywhere, at the cost of purge waste), or paint the part after printing. Whichever you pick, the printer only produces multiple colors if the model file says which faces get which filament. This guide walks the three routes, then covers that color-assignment step.
What do you need to 3D print in multiple colors?
You need one of three setups. A stock single-extruder printer can change color at a layer boundary with a pause-and-swap, which costs nothing but limits you to horizontal bands. A multi-material unit — Bambu AMS, Prusa MMU3, Creality CFS, Anycubic ACE Pro — feeds several filaments to one nozzle so any surface can be any loaded color. Or a multi-tool machine like the Prusa XL keeps one nozzle per filament. On top of the hardware, the model file itself must carry a color assignment for every face, usually as a 3MF.
That second half surprises people. The hardware handles the filament logistics, but it has no opinion about where the colors go. That information lives in the file you slice. We'll come back to it after the hardware.
Route 1 — swap filament at a layer change (free)
Every mainstream slicer — Bambu Studio, OrcaSlicer, PrusaSlicer — lets you right-click a layer in the preview and add a pause or a filament change. The printer stops at that height, you swap the spool by hand, and it carries on. Two-color keychains and signs with raised lettering work this way.
The limit is geometric: the color can only change where the layer changes, so you get horizontal bands and nothing else. If that's all your model needs, don't buy hardware for it. We covered the technique in detail in multicolor printing without an AMS.
Route 2 — a multi-material unit (AMS, MMU3, CFS, ACE Pro)
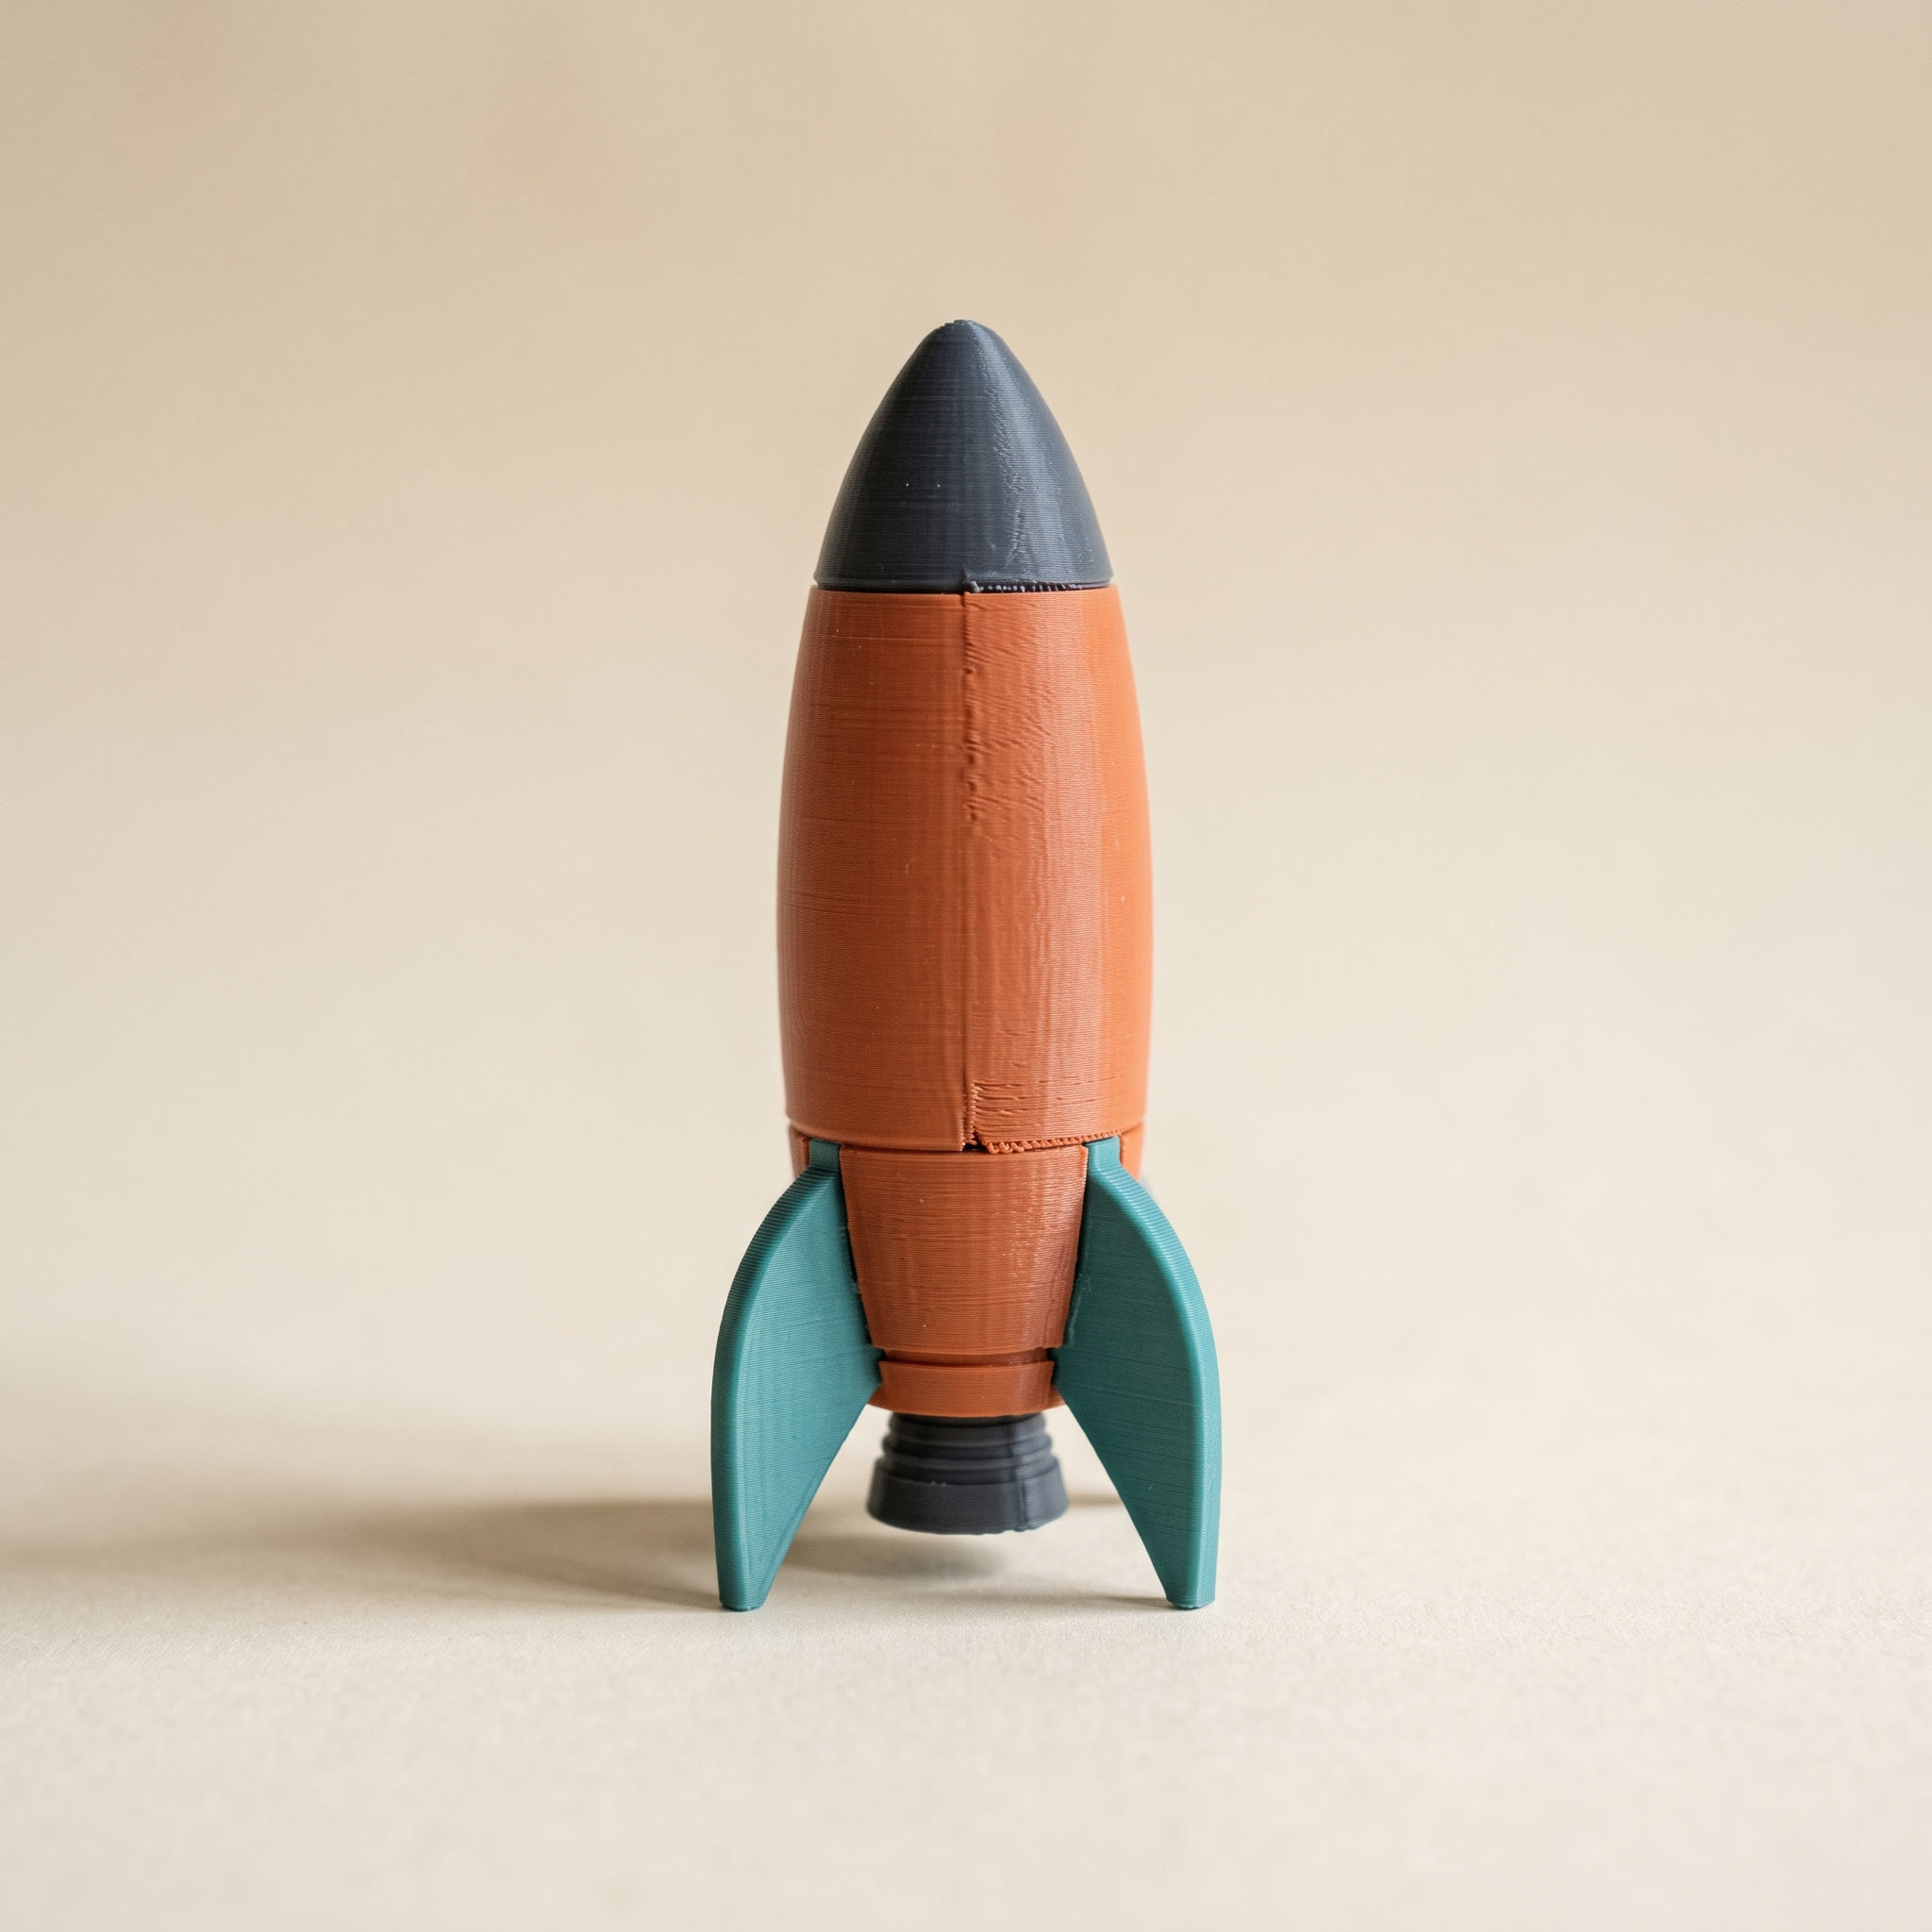
A multi-material unit holds several spools and feeds them to your printer's single nozzle, swapping filament whenever the sliced file calls for a color change. This is the setup that gets you real multicolor: a red emblem on a grey helmet, or printed lettering on any face of the model.
The cost is purge. Each swap flushes the old color out of the nozzle before the new one runs clean, and on a busy print those flushes add up to a pile of waste that can weigh more than the model itself. Swap count is the number to watch, and it's set by how your colors stack vertically. Reordering your palette to match the slot order is the cheapest purge reduction there is.
Toolchanger machines like the Prusa XL and Snapmaker U1 sidestep most of the purge by giving each filament its own hotend, at a much higher machine price.
How does the printer know which parts get which color?
It doesn't, until the model file tells it. A standard STL carries geometry only — no color. The format that carries per-face color to your slicer is 3MF with the Materials Extension: it stores a color group for every triangle in the mesh, and the slicer maps each group to a physical filament slot. Bambu Studio, OrcaSlicer, and PrusaSlicer all read it natively. So the practical question isn't which printer to buy; it's how you get the colors onto the triangles in the first place.
This is the step the hardware guides skip, and it's where most first multicolor prints stall. You download an STL, load it next to your shiny AMS, and realize there is no button that says "make the sword gold."
The step every guide skips: putting the color on the model
You have two options. The slicers have built-in painting tools — Bambu Studio and OrcaSlicer both offer a color-painting mode where you brush filament assignments onto the model. They work, but they're built for touch-ups: on an organic model with soft boundaries you end up painting triangle by triangle with a mouse, and the paint job is locked inside that slicer's project file.
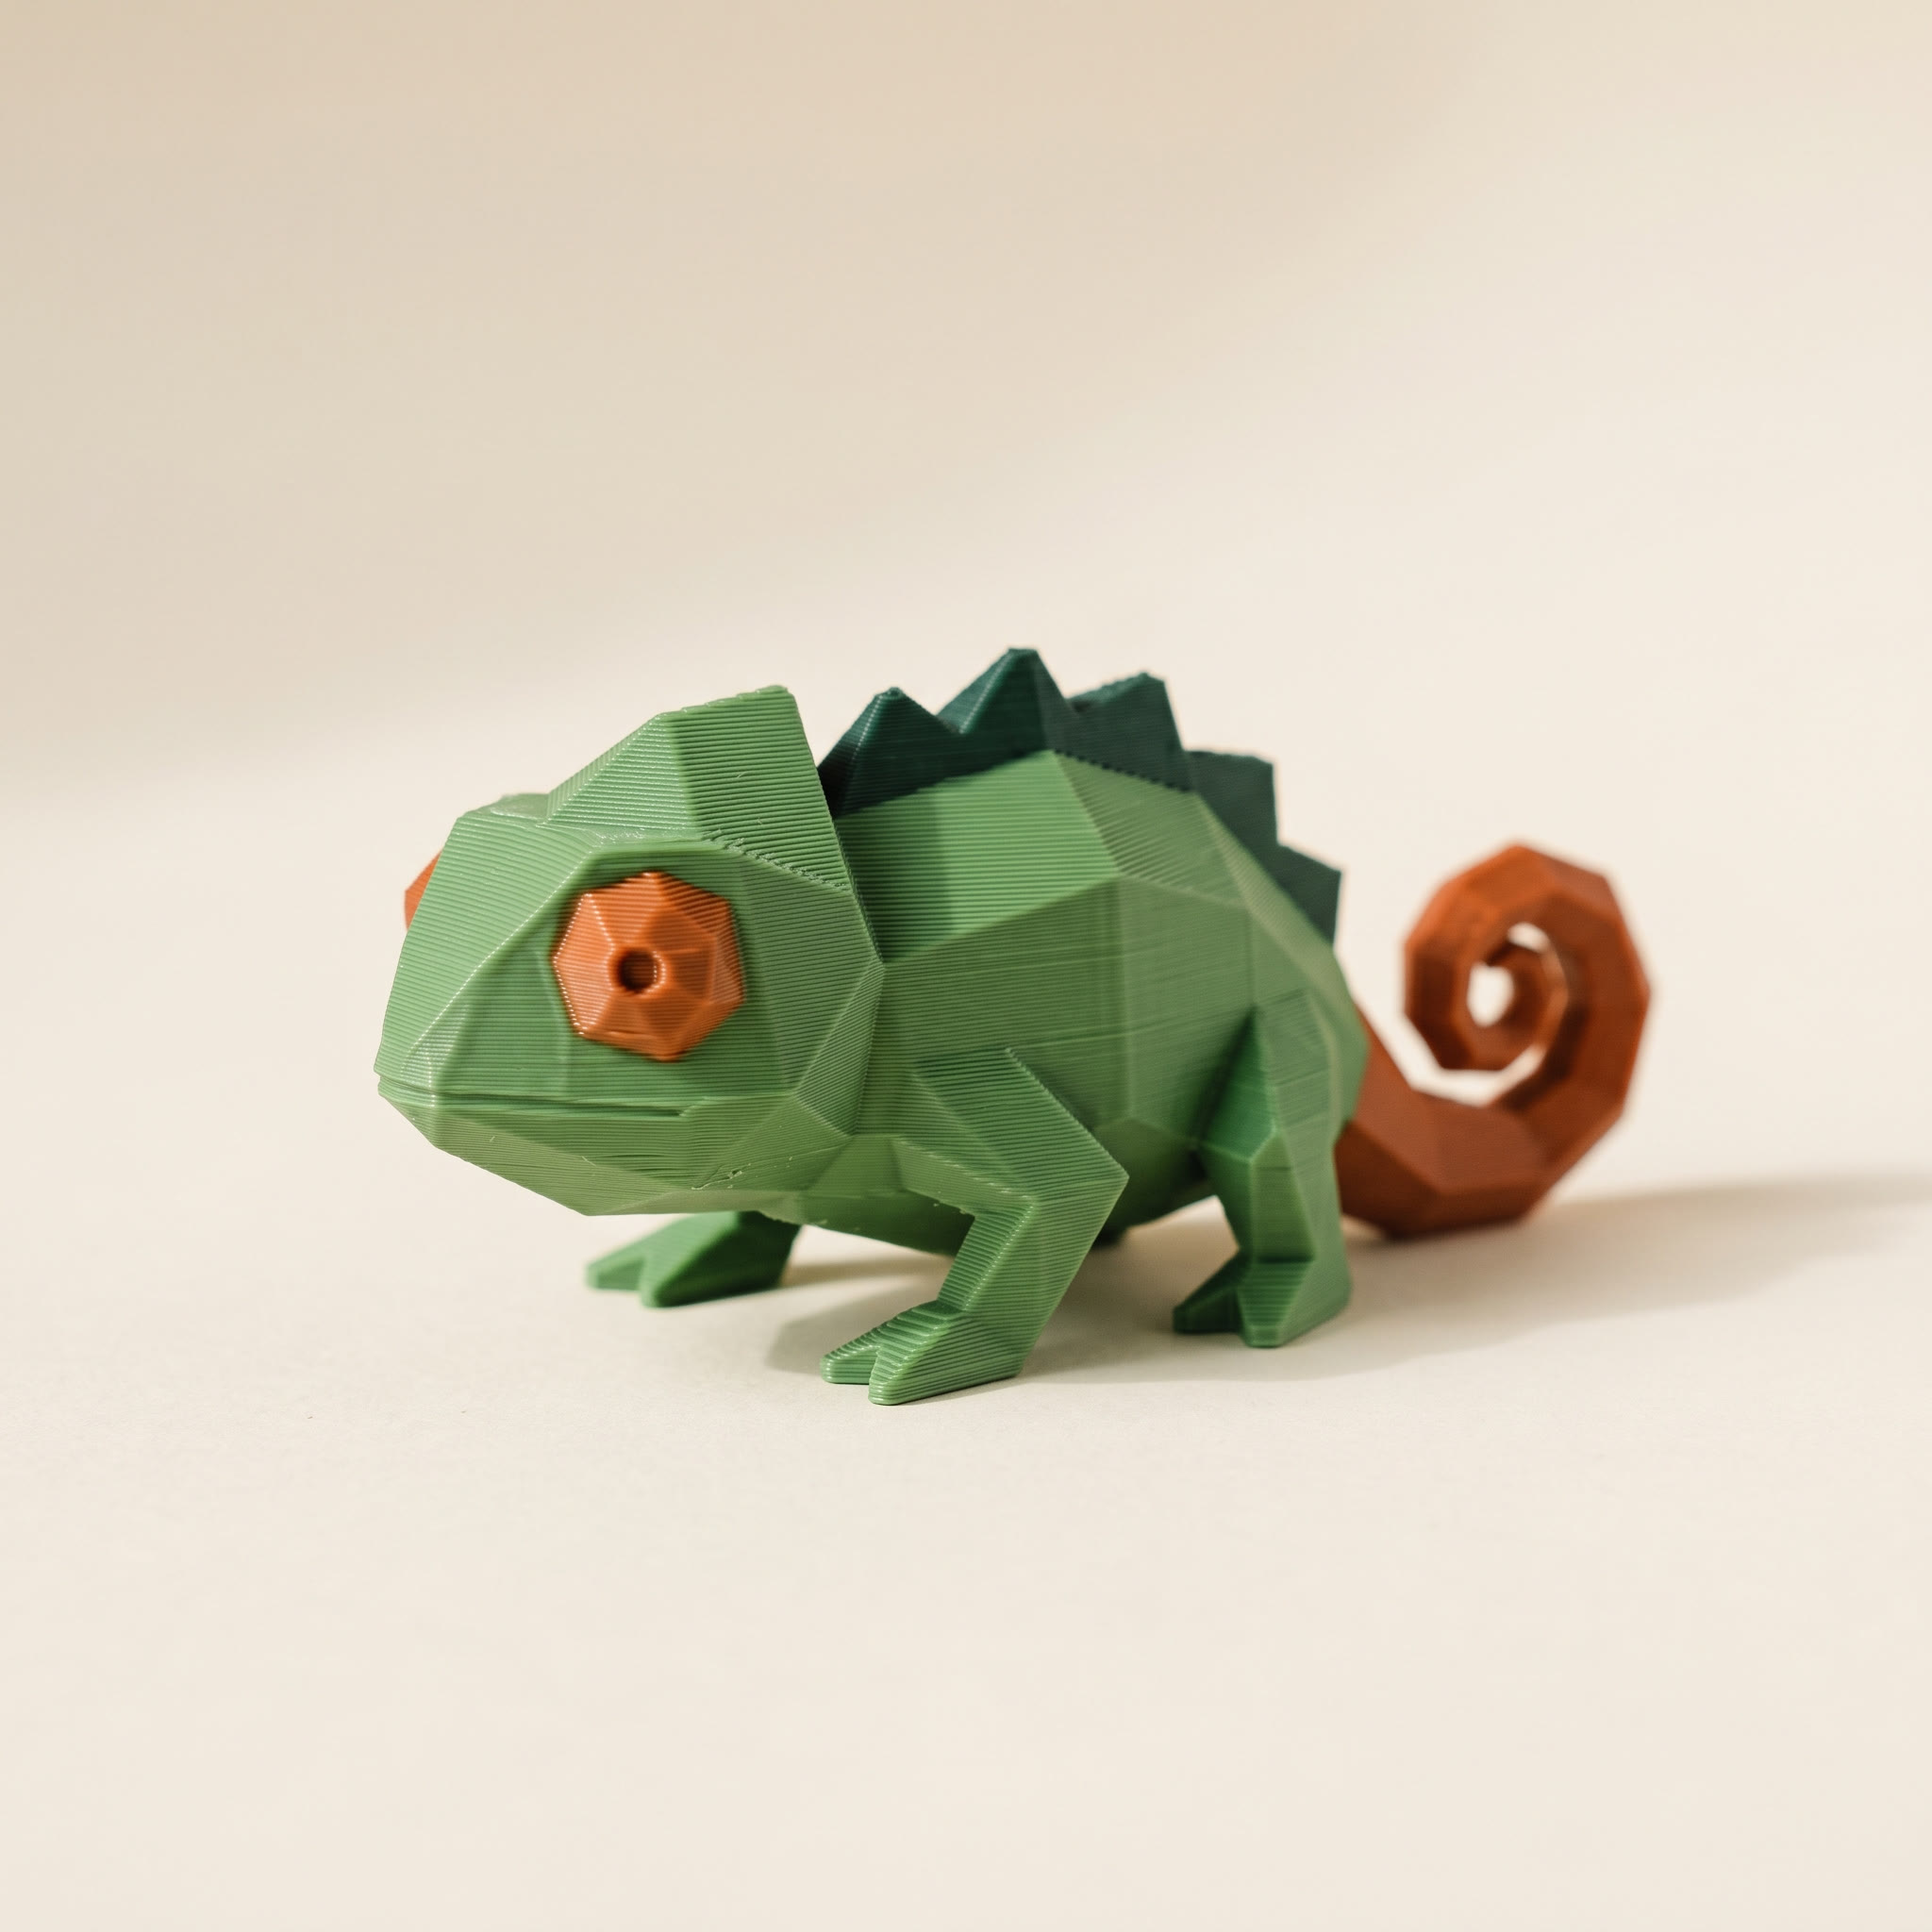
The other option is to paint the model once, in a dedicated painter, and export a file any slicer can read. Layerpaint runs in the browser: drop in an STL, OBJ, or 3MF, and it auto-partitions the mesh along its crease edges, so the helmet, the base, and the emblem each become one clickable region. Press 1 for the Region tool, click a region, click a color. The filament library carries real brand colors — Bambu, Polymaker, Prusament, eSUN, and others — so what you pick is what's on your spool. Export produces a Standard 3MF with per-triangle color groups that Bambu Studio, OrcaSlicer, and PrusaSlicer open directly. The full walkthrough is in your first multicolor 3MF paint job.
In Layerpaint, palette order maps to filament slot order. Add your chips in the same order your spools sit in the AMS or MMU, and turn on Show swap bar to see the per-layer swap tally before you commit to a print.
Common questions
Can I 3D print multiple colors without an AMS?
Yes, with the layer-change trick: pause the print at a chosen height and swap spools by hand. It costs nothing and works on any printer, but the colors can only change at layer boundaries, so you get horizontal bands rather than painted surfaces.
Do multicolor prints waste a lot of filament?
On a single-nozzle machine with a multi-material unit, yes. Every color swap purges the nozzle, and the purge pile can outweigh the model. You can cut it a lot: reduce the swap count, order your palette to match your slots, and calibrate flushing volumes instead of accepting the defaults.
Do I need special filament?
No. Regular PLA or PETG works; the constraint is that all filaments in one print should be the same material type so they share print temperatures. Matching brand and finish across colors keeps the surface looking consistent.
Can an STL file hold the colors?
No. STL stores bare geometry, which is why a downloaded STL always slices as one color. To carry a paint job into your slicer you need a 3MF using the Materials Extension, which stores a color per triangle. That's the format Layerpaint exports.
Try it now
Layerpaint is free to try — no account, no install, and your model never leaves your device. Drop an STL on the painter, color it, and export a slice-ready 3MF. Your first export is free, then $2.97 a model or $39.97 unlimited. No subscription.
Happy printing. 🎨