TL;DR: Sculpted anime figures rarely have crease edges where you want a color change — a hairline melts into the forehead, so auto-partition lumps them together. Layerpaint's Crease tool lets you draw the seam yourself: one click walks the whole crease loop. Here's the workflow for clean hair-and-face and collar seams, plus mirror painting for symmetric features.
Why do anime STLs fight per-region painting?
Sculpted figures don't have sharp crease edges where you need a color split — a hairline is a smooth curve into the forehead, a kimono collar blends into the neck. Auto-partition only marks a boundary where the dihedral angle is sharp enough, so those smooth transitions come up as one region and a Wand click floods straight across the seam. Lowering the global crease angle just shatters the rest of the surface into noise, so the fix is to draw the seam by hand.
Sculpted figures don't have crease edges where you need them. A character's hairline is usually a smooth curve into the forehead. No ridge. The kimono collar that meets the neck, the haori sleeve cuff, the mask edge behind the cheekbone — all the same story.
When you drop the STL into Layerpaint, auto-partition runs along edges where the dihedral angle is sharp enough to count as a crease. Smooth transitions never hit that threshold, so the hair and the face come up as one region. Click the Wand and it floods across the seam you wanted. Lowering the global crease angle helps a little, then starts shattering the surface into noise.
The fix is to stop fighting the auto-partition and just draw the seam you want.
What the Crease tool actually does
The Crease tool sits below Mark area in the left rail. Two modes:
- Click a single crease edge. Layerpaint walks the crease loop outward from that edge, follows it all the way around the model, and commits it as a drawn boundary. One click, one closed loop.
- Drag with the brush ring on. Every crease edge that passes under the ring gets marked. Use this when you want a partial seam — say, only the front half of a hairline, leaving the back as one region.
Both modes write to the same drawn-boundary layer that the Region tool reads. Once the boundary is in, Region treats each side as its own clickable area.
The Crease tool uses the global crease threshold. If the seam you want is on a soft transition with no measurable ridge at all, lower the threshold first until a faint dotted line appears along the curve you care about — then click. Bump it back up afterwards if other regions got noisy.
Walk-through on a chibi head
If the bust is a download rather than your own sculpt, it's worth a look in the free STL viewer first — a seam that won't hold is often a mesh problem, not a painting one.
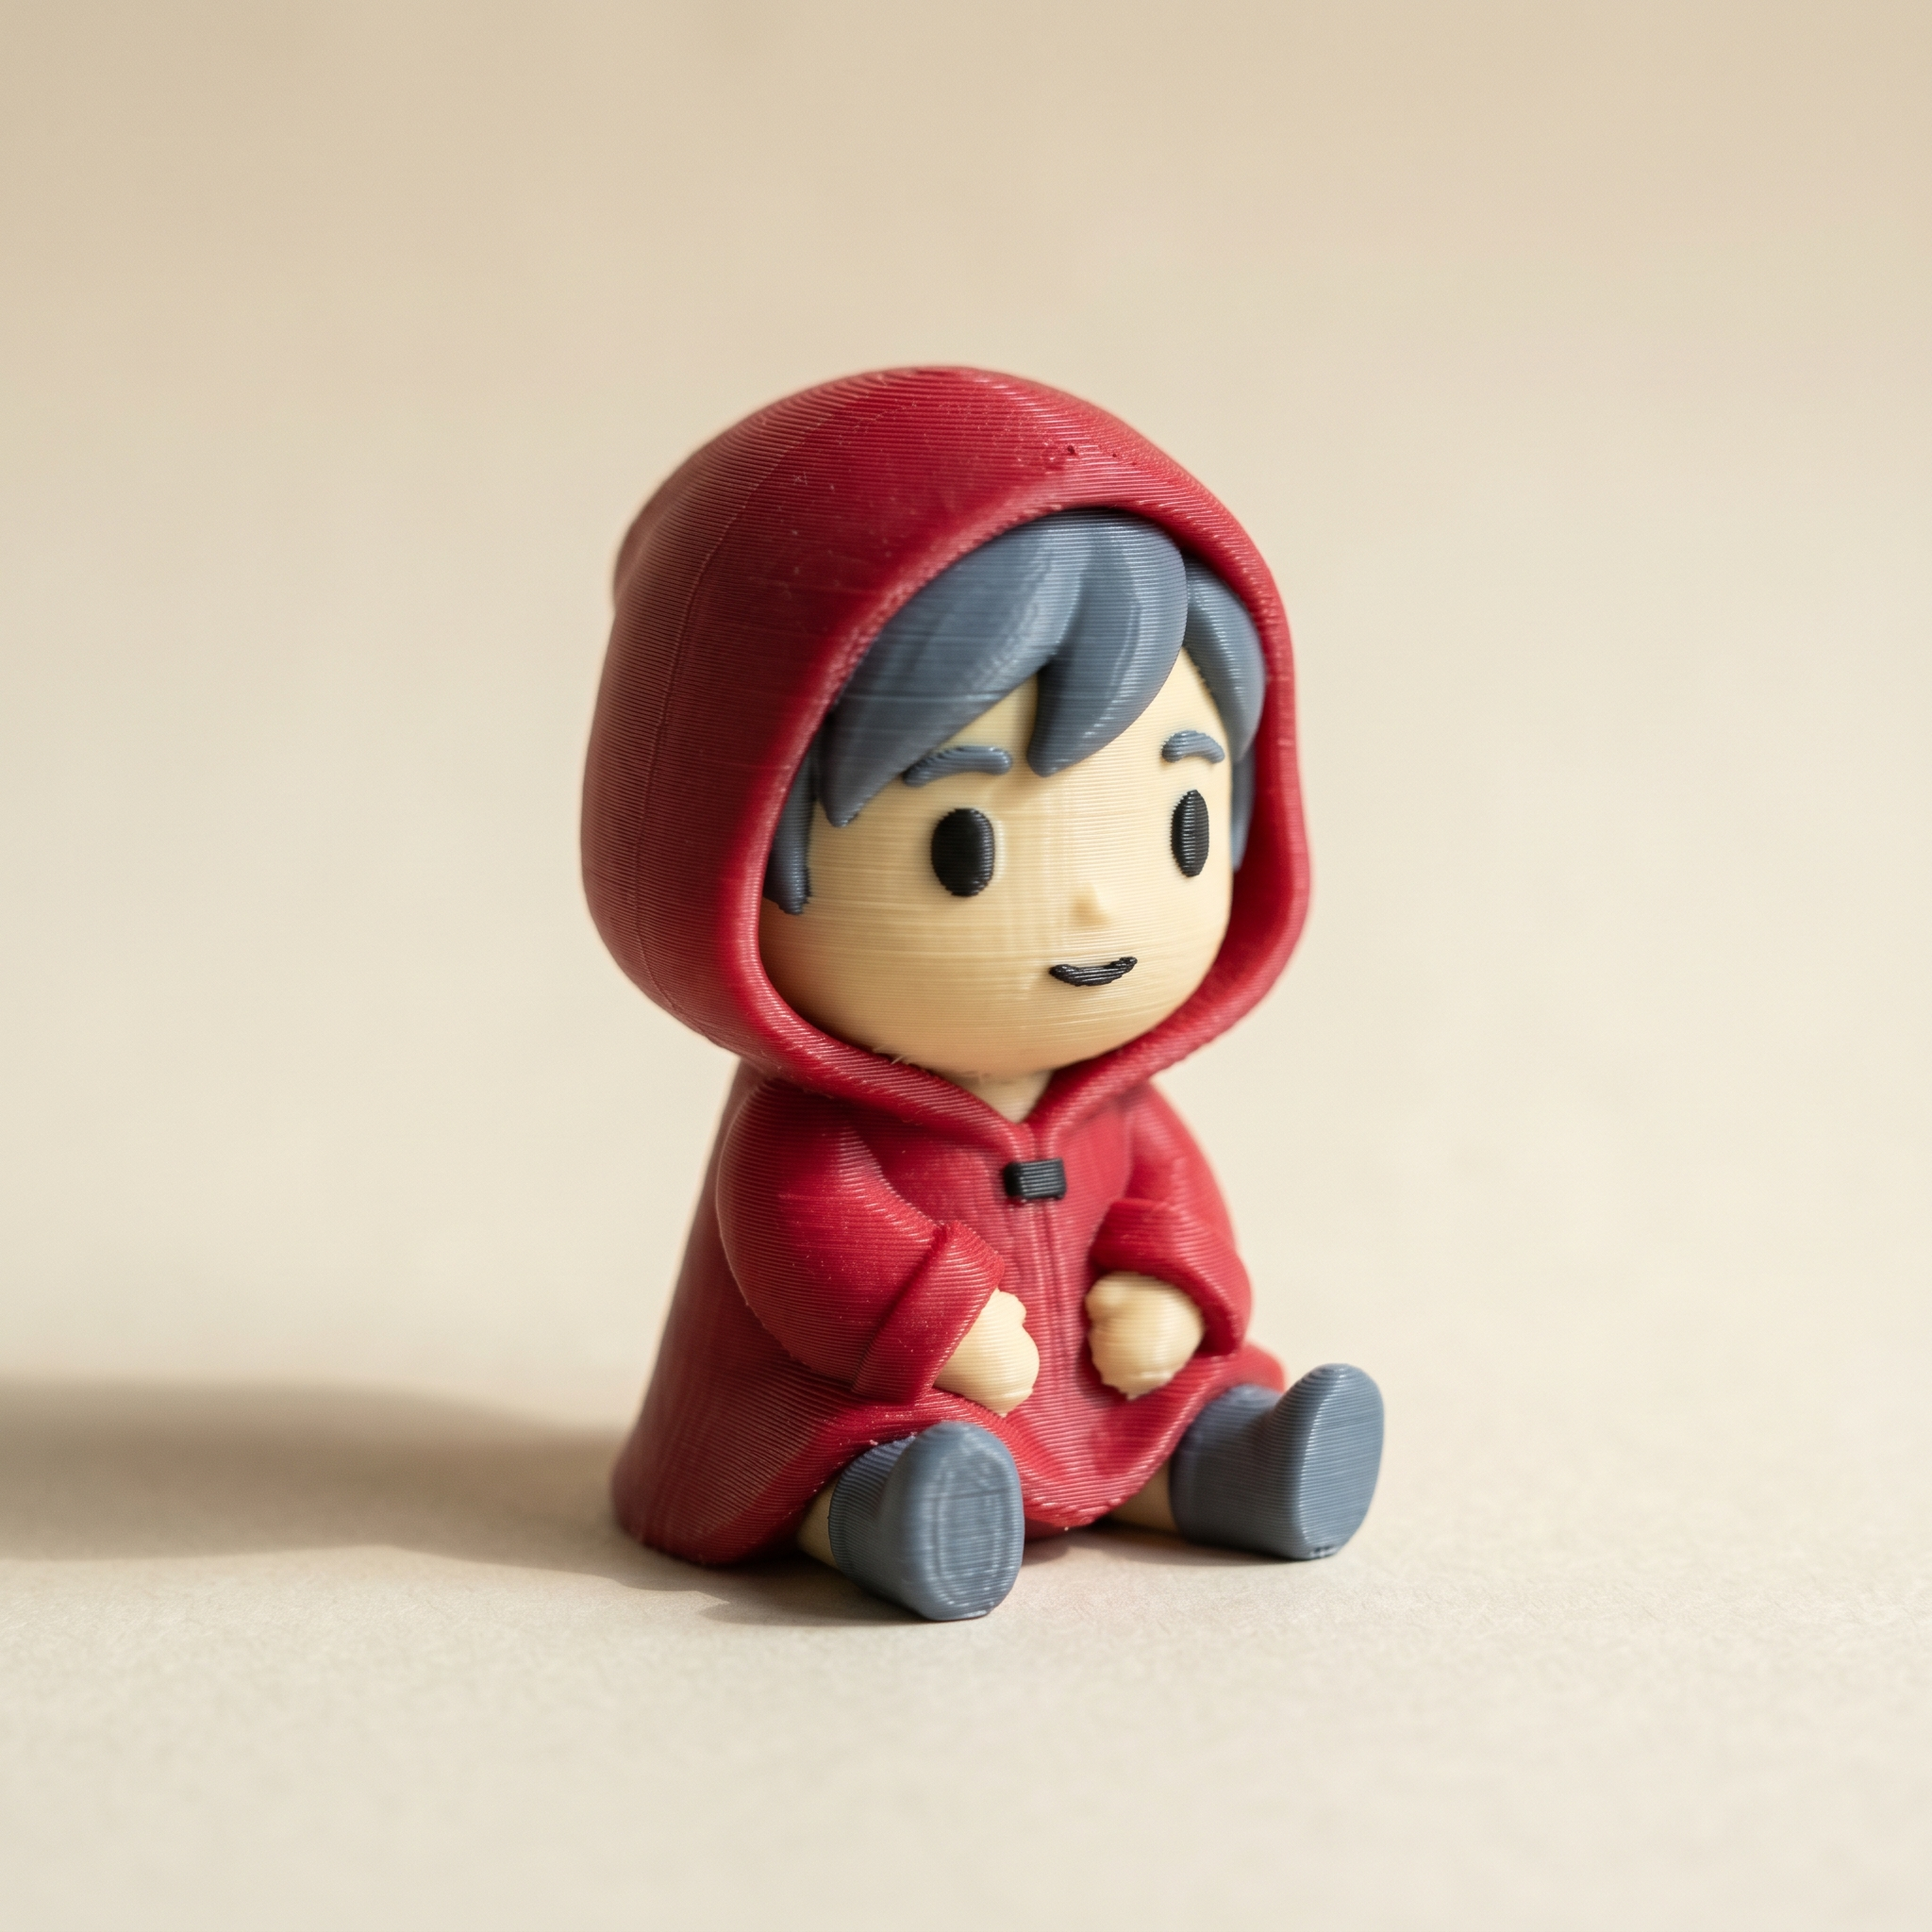
Take a standard chibi bust: round face, swept hairstyle, no mesh seam between the two. Goal: red hair, cream face.
- Drop the STL on layerpaint.app/app. Auto-partition runs.
- Open the palette. Add a cream chip and a red chip — pick from the filament library (Bambu PLA Matte includes Sakura Pink, Bone White; Polymaker PolyLite has Red and White) or punch in a hex that matches the spool on your shelf.
- Drag the crease threshold down until a soft dotted edge appears along the hairline. If nothing shows up at the lowest setting, you'll use the manual drag mode next.
- Click the Crease button in the left rail. Click directly on the hairline edge — Layerpaint walks the loop and commits it as a drawn boundary.
- If the click misses (toast says "No crease edge nearby"), drag along the hairline with the brush ring instead. Adjust the radius with
[and]. - Switch back to the Region tool. Click the hair side, pick red. Click the face side, pick cream. Done.
Repeat the same loop for the kimono collar, the sleeve cuff, the bottom of the haori. Each one takes a few seconds.
Mirror painting pays off here
Symmetrical features are why mirror painting exists. Both sleeves, both eye sockets, both shoulder pads. Turn it on before you start painting and Layerpaint pairs faces across the mirror plane, so every region click colors both sides at once.
The Crease tool itself doesn't mirror the drawn boundary, only the paint. If a seam has to land on both sleeves, draw it on one, then either draw it on the other or use Grow once you've committed paint.
Watch the swap count before you commit
Every new color region you carve out is a potential filament swap per layer. Toggle Show swap bar before you go wild adding seams. If you're suddenly looking at 40 swaps on the head layers because you split the hair into three tones plus a face plus a mask, the purge tower is going to be larger than the figure.
Two checks that help:
- Layer scrub — drag through the height slider and watch which layers introduce new colors. A seam that adds a color to every layer of the head costs a lot more than one that's confined to a few layers near the top.
- Palette order — drop colors into the palette in the same order they're loaded in your AMS / MMU / ACE Pro / CFS. The swap counter is sensitive to this. Removing a chip and re-adding it shifts the slot assignment.
Removing a palette chip unpaints every face that was using it. If you've already painted half a figure and decide you want a different red, change the hex on the existing chip rather than deleting and re-adding — your paint stays in place.
Export and slice
Hit Export 3MF. Open the file in Bambu Studio, OrcaSlicer, or PrusaSlicer. All three read the Materials Extension (<m:colorgroup>) natively. In Bambu Studio you'll get the Standard 3MF Color Parsing dialog. Accept it, map palette slots to AMS positions, slice.
Common questions
Does this work on Anycubic ACE Pro or Creality CFS?
Yes. The OrcaSlicer forks bundled with both read Standard 3MF color groups. Slot order in the slicer should match the order you built the palette in Layerpaint.
What if I draw a bad seam?
Shift-click on the Crease tool to erase a marked edge, or hit Ctrl+Z. Undo snapshots include drawn-boundary changes, not just paint.
Can I save a half-painted figure and come back to it?
Save as .layerpaint (a gzipped JSON of the welded mesh plus all paint state). Reopen anytime. The Crease tool's drawn boundaries are part of the file.
Try it now
Layerpaint is free to use — no account, no install, no upload. Drop an STL on the painter, draw the seams your model is missing, and color each side. When you're ready to export, your first export is free, then $2.97 for 3 models or $39.97 unlimited. No subscription.
Happy printing.