TL;DR: Figures don't have clean creases like mechanical parts — hair flows into a face, a cloak onto a boot — so auto-partition gets about 70% there and leaves cleanup. This is the order that works: palette first, crease angle, then Region, hand-drawn boundaries, Brush with Stop at crease, and the swap bar before export.
Why are figures harder to paint than mechanical parts?
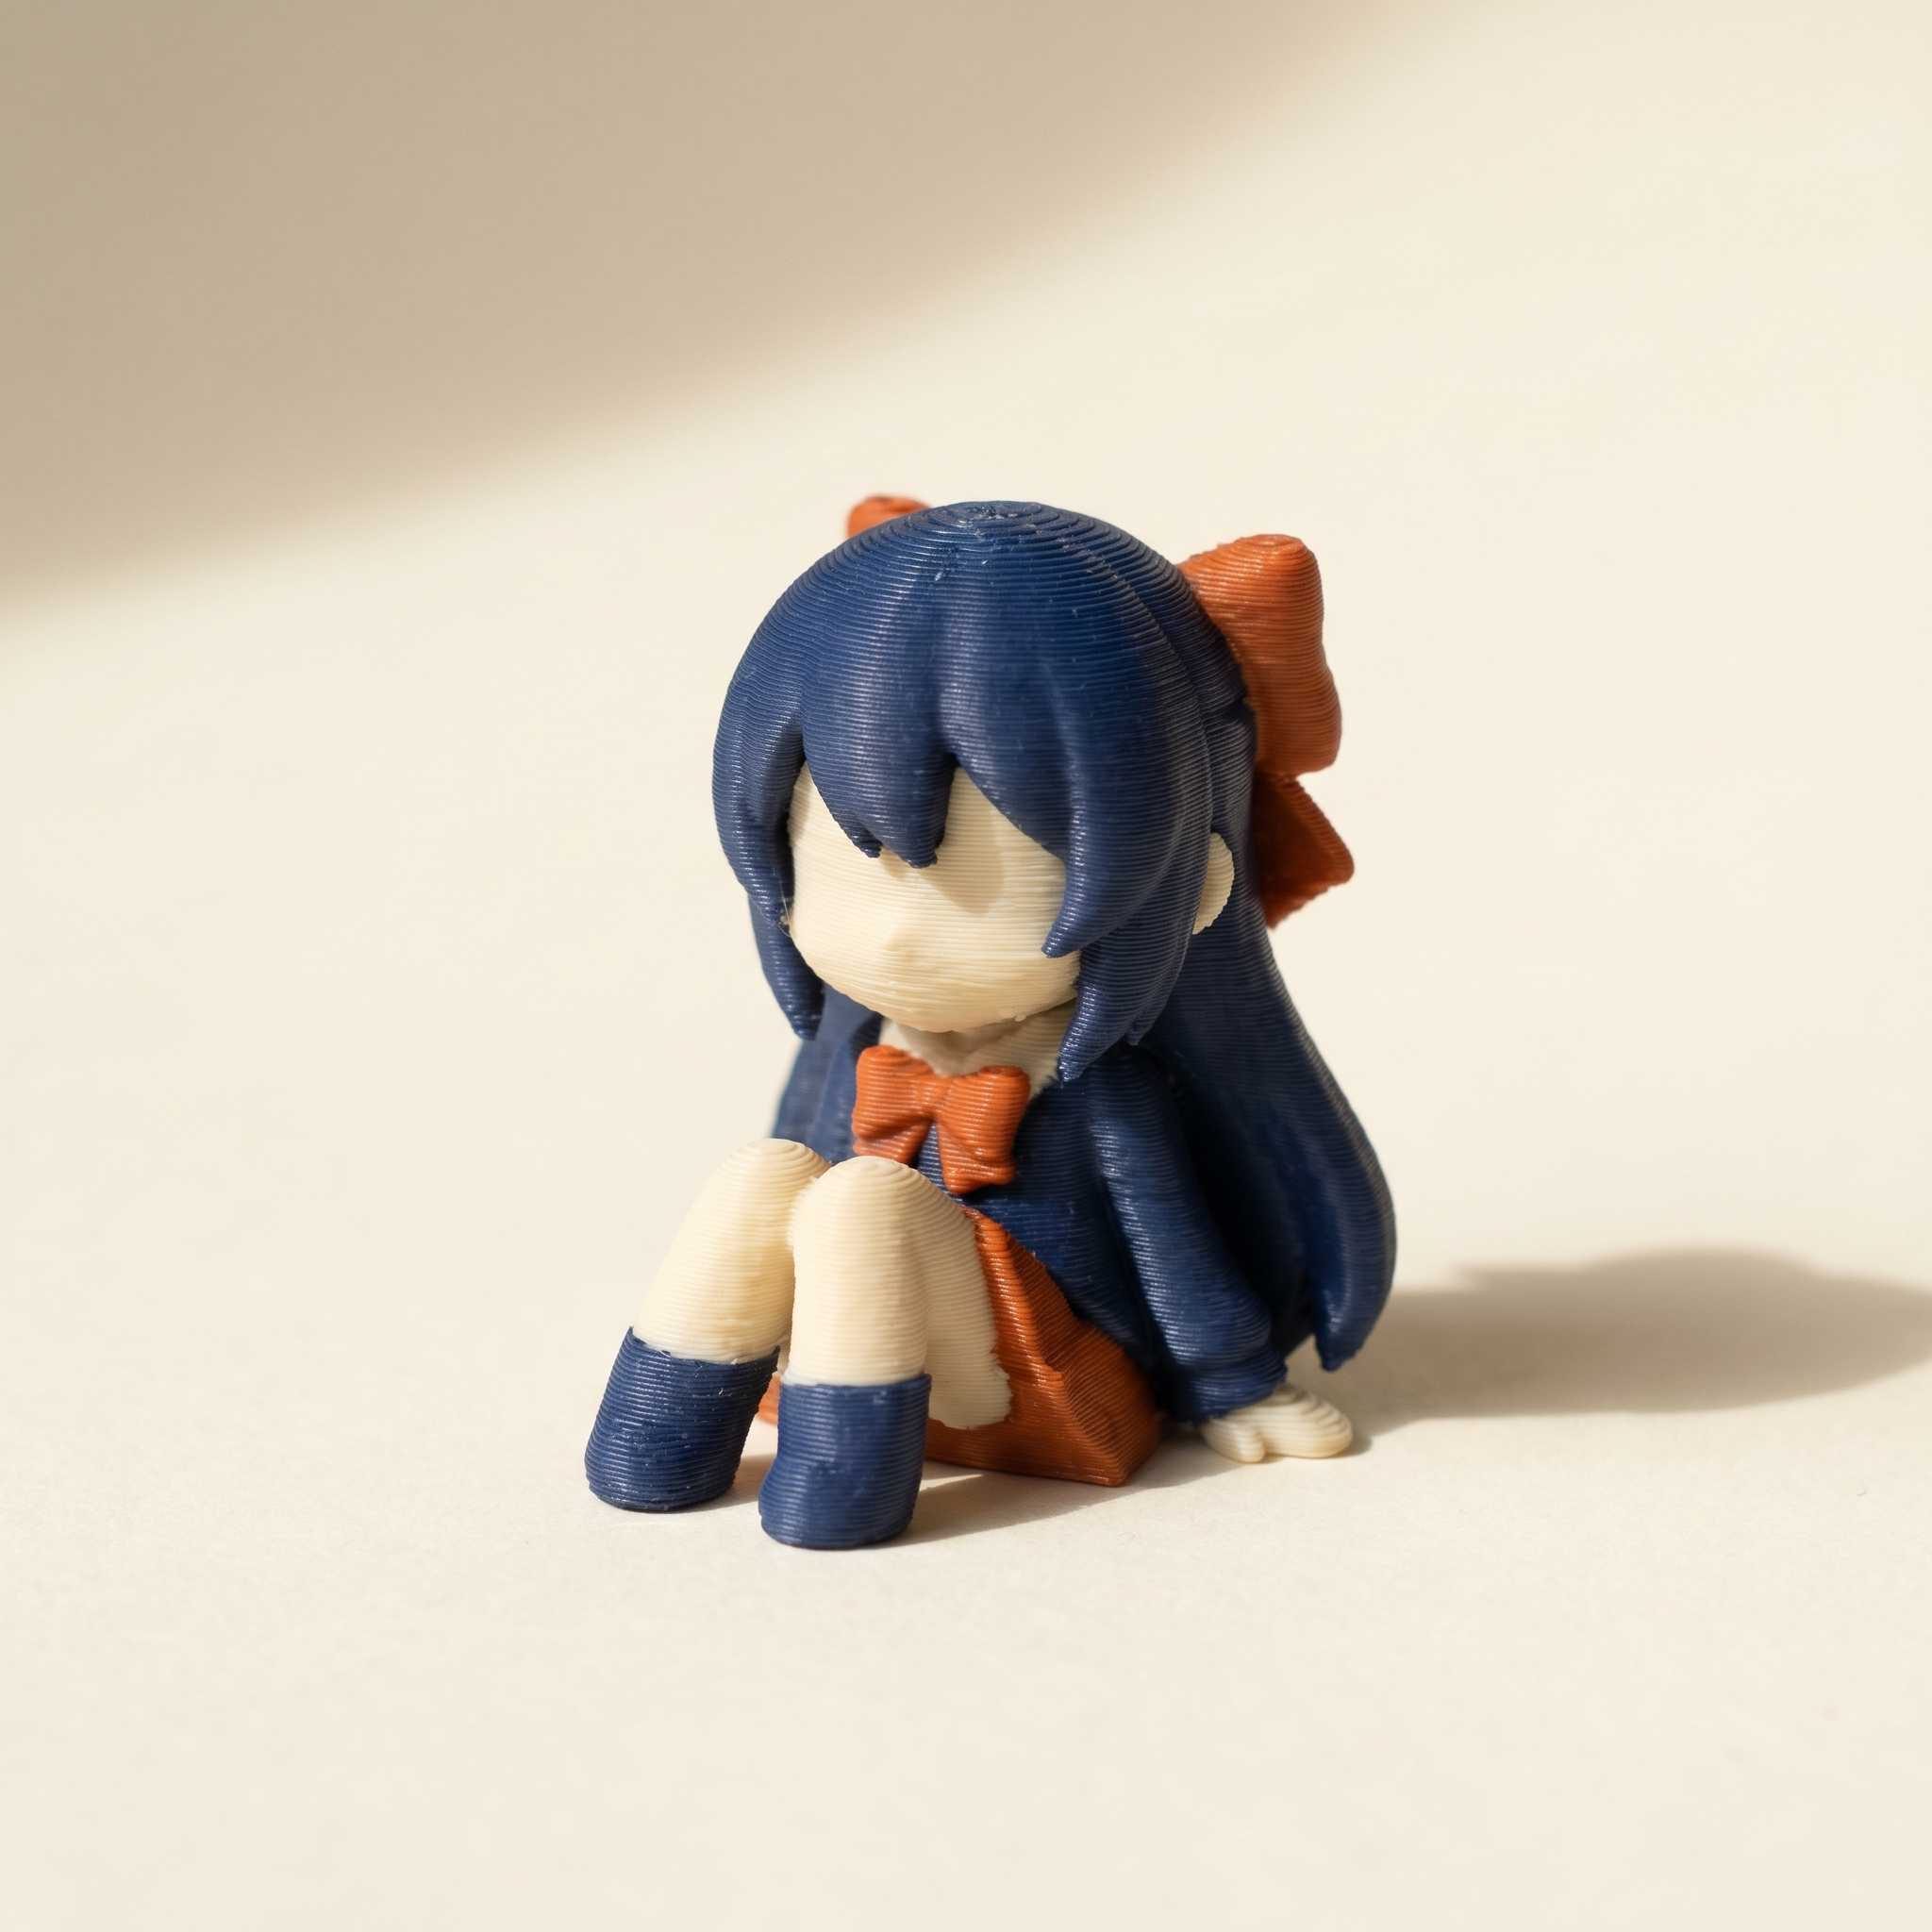
Mechanical parts have hard creases between features, so you click each region and pick a color. Figures don't — hair flows into a face, a cloak drapes onto a boot, a sword guard tapers into a pommel with no sharp edge. Auto-partition by crease angle gets you about 70% of the way, then leaves a pile of soft transitions that have to be split by hand with the Crease tool and cleaned up with the Brush.
A mechanical part usually has hard creases between features. Click each region, click a color, done. A figure does not. Hair flows into a face. A cloak drapes onto a boot. A sword guard tapers into a pommel without a single sharp edge. Auto-partition by crease angle gets you 70% of the way there, then leaves a pile of cleanup that has to be done by hand.
The workflow below is the order I land on after a few of these. Region tool for the easy wins, hand-drawn boundaries for the rest, brush to clean up, swap bar to catch the prints that will eat 80 grams of purge before you commit.
Step 1 — Set the palette before you paint anything
Drop the STL on layerpaint.app/app. Before touching a single triangle, open the filament library and add the chips in the order they sit in your AMS or MMU. The order matters because the slicer maps color groups by index, not by hex value. Bambu Studio's Standard 3MF Color Parsing dialog asks you to confirm slot-to-color pairings on import. Matching the order up front means there is nothing to drag around.
For a typical figure I run four or five filaments: skin, hair, main garment, secondary garment, accent. The library has matte and silk variants from Bambu, Polymaker, Prusament, Overture, Sunlu, eSUN, Elegoo, Creality, and Hatchbox, plus Citadel and Vallejo paint references when you want a target color that does not exist in filament yet.
Removing a palette chip unpaints every face that used it. If you decide mid-painting that you want a different red, edit the chip in place rather than deleting and re-adding — the painted faces stay assigned.
Step 2 — Tune the crease angle, then sweep the easy regions
Figures break cleanest at a crease threshold around 25–30°. That is sharp enough to separate a belt from a tunic and a boot from a leg, but soft enough that smooth skin does not shatter into a hundred slivers. Drag the slider, watch the boundary lines redraw in real time, stop when armour panels and clothing seams are isolated but smooth skin stays whole.
Switch to the Region tool with 1 and click your way through everything obvious: hair mass, eyes, base, weapon, armour plates. Five to ten clicks usually covers half the model. The Preview tool is useful here. Tag a face and it lights up the exact region a click would paint, so you can audit a split before you commit.
Step 3 — Hand-draw the boundaries the crease angle missed
Where a region runs across a seam with no real crease, like a hairline on a forehead or a glove edge across a wrist, pull out the Crease tool and draw the boundary yourself. Click a starting edge and Layerpaint walks the loop along the strongest crease it can find; drag along the ring to paint extra edges by hand. The boundary is layered on top of the auto-partition, so you can redraw without losing the regions you already painted.
Re-run the Region tool over the area you just split. The new boundary acts as a stop, so the click fills only one side.
Step 4 — Brush the leftovers, with Stop at crease on
Switch to the Brush with 2 and turn on Stop at crease. The brush will not cross any edge sharp enough to qualify as a crease, which means you can scribble around an eye socket or a glove fingertip without leaking onto neighbouring regions. For organic transitions like skin-to-hair where there is no crease, turn it off and rely on the radius and a steady hand.
The Wand (3) is what I reach for on broad surfaces. Click a flat panel and the flood fill walks the mesh until it hits a crease, the radius cap, or a painted edge. Faster than a brush stroke on anything bigger than a face.
For symmetrical figures, set the Mirror axis under Symmetry before you start the brush phase. Every stroke gets duplicated across the axis, so a face takes half the clicks. You can disable it for the few asymmetric details — a side-swept fringe, a weapon held in one hand.
Step 5 — Read the swap bar before you export
Flip on Show swap bar in the side panel. A vertical bar appears along the left edge of the viewport, with one stripe per print layer — amber for one swap, red for two or more. A figure with a sash that wraps the waist twice will show two thick amber bands at the same Z; a figure with hair colour bleeding down to mid-torso will show one tall red column that costs a swap on every layer.
If the bar lights up red across most of the print, walk through it with the layer scrub. Often the fix is on the mesh: a few stray faces painted the wrong colour deep inside the model where you cannot see them. Repaint them, watch the bar shrink, then export.
Step 6 — Export the Standard 3MF and slice
Hit Export 3MF. The file is a Standard 3MF with the Materials Extension <m:colorgroup> block, which Bambu Studio, OrcaSlicer, and PrusaSlicer all read natively. Save the working state as a .layerpaint project file too — you will want it when the next figure in the series comes out and you want to copy the palette.
In the slicer, confirm the AMS slot mapping matches your palette order, set flush volumes to your usual values, and slice. Single-color figures and multi-color figures differ in print time by a few hours, not by a factor of three — as long as the swap bar is reasonable.
Common questions
What about the face? Should the head be a separate filament?
Usually no. A figure printed with a single skin-tone filament for the whole head, then hand-painted with acrylics for eyes and lips, beats anything the AMS can do for facial detail at this scale. Save the AMS slots for hair, clothing, and accent pieces where filament colour reads at a glance.
Does this work on Anycubic ACE Pro or Creality CFS?
Figures off a marketplace are often not watertight. If yours misbehaves, the browser STL repair tool will fix it before you spend time painting it.
Yes. Both ship OrcaSlicer forks that read the Standard 3MF Materials Extension. The mapping dialog looks slightly different but the import path is identical.
If the figure arrived as an OBJ from a sculpting app, the free OBJ to STL converter will get it into a format the rest of this assumes.
How many filaments can a figure really use?
The palette holds 16, but four to six is what I usually settle on for a single figure. Above that, purge waste climbs fast and the colours start blurring together at viewing distance. If a figure wants ten distinct tones, split it into two prints (head and torso in one palette, base and accessories in another) and glue.
Try it now
Layerpaint runs in the browser. No install, no account, no upload. Drop a figure STL on the painter and walk through the steps above. When the 3MF is ready, your first export is free — after that it's $2.97 for 3 models or $39.97 unlimited — no subscription, no per-file fee.
Happy printing. 🎨