TL;DR: Bambu Studio's textured-OBJ importer quantizes a model's texture to your loaded filaments automatically — great for baked-color sculpts and decals, but it guesses which slot each color lands on and needs a real texture to sample. Painting the mesh in Layerpaint trades that guess for the exact slot you want and clean boundaries on real part edges. Here's when to use each.
What does Bambu Studio's textured-OBJ converter actually do?
It takes a textured OBJ, glTF, or GLB, samples the texture at every triangle, snaps each sample to the nearest loaded filament, and writes that slot back to the triangle — a colored model on the plate without touching a paint tool. It works because FDM multi-color is one color per triangle underneath, so the texture-to-filament step is just quantization. The catch is it guesses the nearest slot, which isn't always the one you wanted.
Bambu Studio added an importer that takes a textured OBJ, glTF, or GLB and turns it into a paintable 3MF. The slicer samples the texture at every triangle, snaps each sample to the nearest loaded filament, and writes that filament slot back to the triangle. You get a colored model on the plate without touching the paint tool.
The reason it works is that FDM multi-color printing has the same shape as the 3MF Materials Extension underneath. One color per triangle, mapped to one filament slot. The texture-to-filament step is just quantization.
When the auto-convert lands
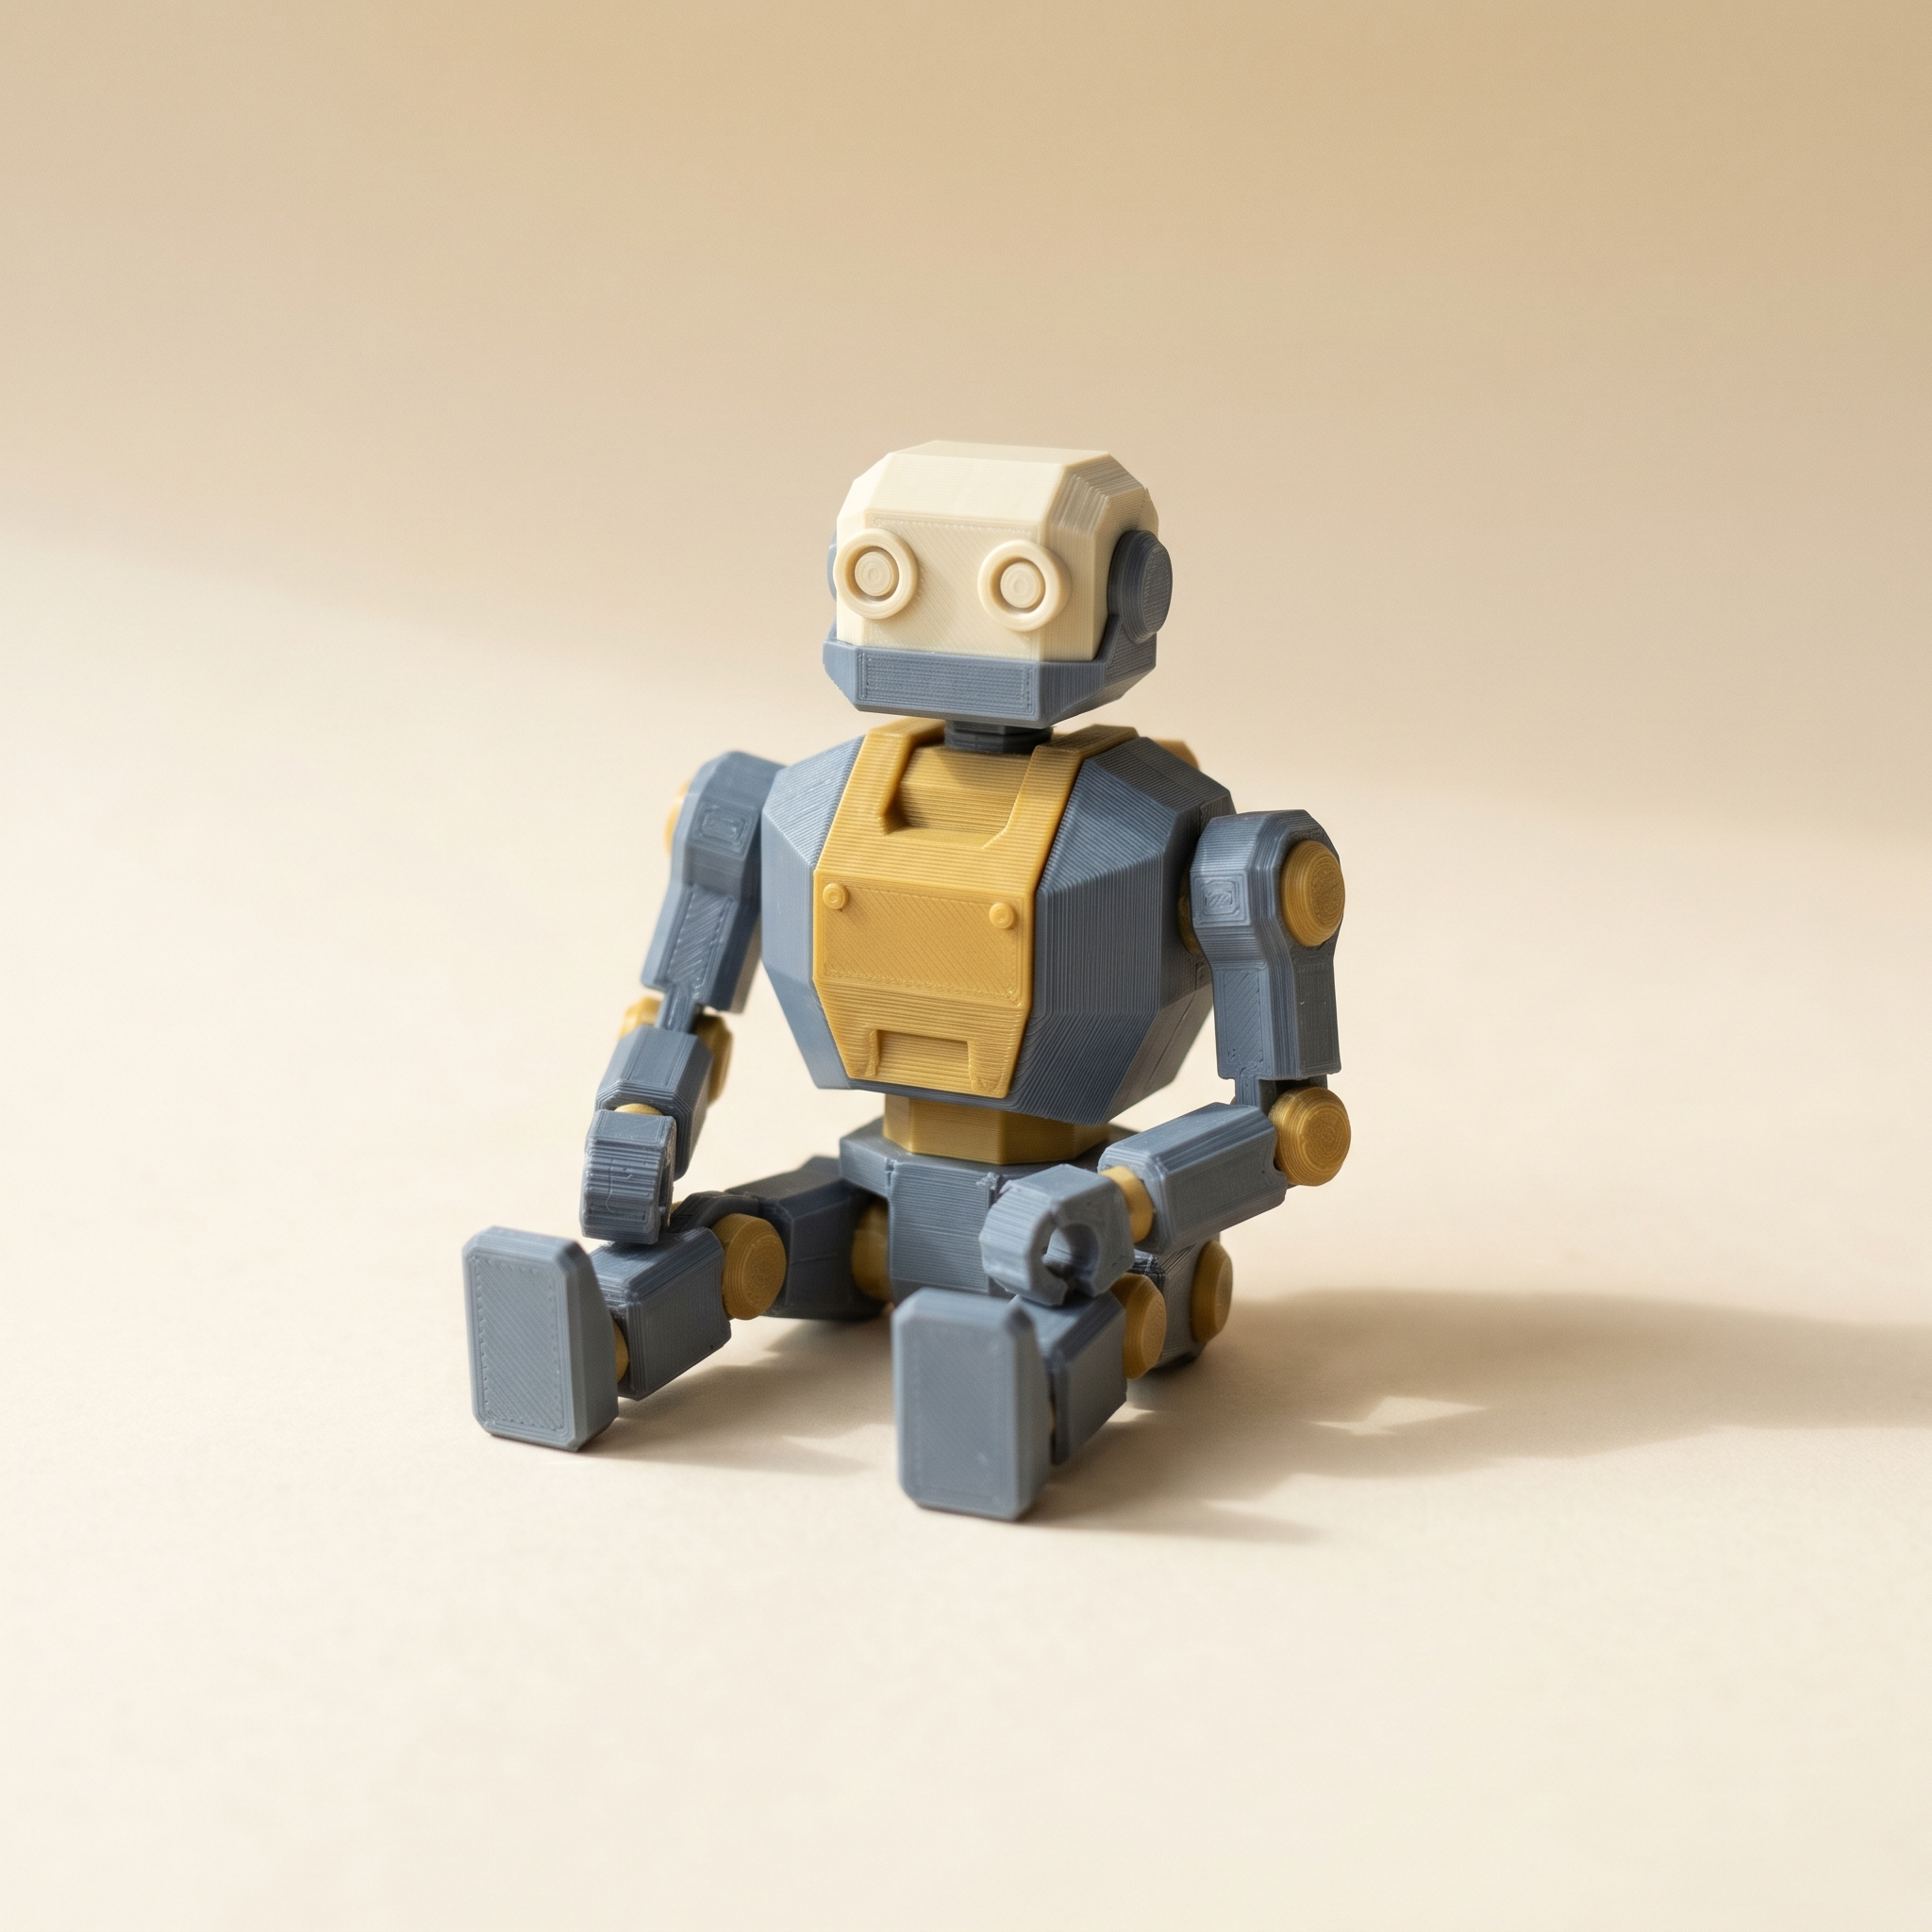
If your model came from a character store, a ZBrush sculpt with baked vertex color, or any pipeline that already painted the model digitally, importing it textured saves work. The sculpt has color, the slicer matches it to your AMS, you slice. Decals do the same thing. A logo on a flat panel, a stripe down a fender. The texture has hard edges that align with the geometry, the converter respects them, and the printed colors sit cleanly along the seams.
When it doesn't
If your OBJ needs to be an STL before anything else will touch it, the free OBJ to STL converter does it in the browser, and the STL viewer will show you what you actually got.
Current limitations from Bambu: single-textured models only, one file imported at a time, and no support for Draco-compressed glTF or GLB. None ofthose are dealbreakers on their own, but they catch you out the first time you try a multi-texture asset pack.
The bigger issue is the auto color matching itself. The slicer picks what it thinks is the nearest filament from your loaded AMS, not the filament you actually want for that region. A "warm grey" patch in the texture might collapse onto your slot 2 charcoal instead of your slot 4 cream. The model prints. It prints wrong.
The other failure case is models without a useful texture at all. STL exports from CAD, mechanical parts, low-poly figurines, anything sculpted in Blender or Fusion without color. The importer has nothing to sample. You're back to painting the model anyway, but now you're using the slicer's brush, which doesn't auto-partition along crease edges and doesn't keep its strokes inside part boundaries.
When should you paint the mesh in Layerpaint instead?
When you want control over which filament slot a color lands on, or your model has no useful texture to sample — STL exports from CAD, mechanical parts, low-poly figurines. Layerpaint loads STL, OBJ, and 3MF as plain meshes, auto-partitions along crease edges, and writes per-triangle color groups into a Standard 3MF that Bambu Studio, OrcaSlicer, and PrusaSlicer all read. You pick colors yourself instead of letting the slicer guess, and boundaries land on real part edges.
Layerpaint loads STL, OBJ, and 3MF as plain meshes. It auto-partitions along crease edges and writes per-triangle color groups into a Standard 3MF. Bambu Studio, OrcaSlicer, and PrusaSlicer all read that format natively.
The trade is that you're picking colors yourself instead of letting the slicer guess. For a mechanical part with five panels and three filaments in your AMS, that takes about a minute with the Region tool, and the assignment is exactly what you wanted.
Layerpaint also reads Bambu and Orca painted 3MFs, including the embedded filament list. If the auto-convert got most of the model right and only a few patches are wrong, save the slicer's 3MF, open it in Layerpaint, repaint the bad areas, and re-export. You don't have to start over.
A workflow for painting the mesh
For a typical mechanical or hard-surface model:
- Pick your palette first. Open the filament library and add the chips for the filaments actually loaded in your AMS, in the order they sit in the slots. Bambu Studio and OrcaSlicer map color groups to slots by order on import. A palette that mirrors your AMS avoids the remap dance after.
- Region tool, then refine. The default tool fills a connected region per click. For most mechanical parts and low-poly models the painting is done at this stage. Every flat panel is one click.
- Brush with "Stop at crease". For curved surfaces where the auto-partition was too coarse, switch to the Brush and tick "Stop at crease" in the side panel. A stroke that runs across a part seam stops at the seam instead of bleeding over.
- Wand for big flat areas. One click flood-fills a smooth surface and stops at the next sharp edge. Faster than dragging a brush across a panel.
- Symmetry for mirrored parts. Set the symmetry axis once and every paint action mirrors to the partner face. A two-armed robot or a pair of brackets takes half the work.
Toggle Show swap bar at any point to see how many filament swaps your paint job will cost per layer. Plan the palette order before you paint a lot. The order you add chips becomes your AMS slot order, and removing a slot later unpaints every face that used it.
When you'd still let Bambu's importer do the work
Three cases where letting the auto-convert run is worth it:
- A GLB from a character pipeline with baked color you'd otherwise have to recreate by hand.
- A textured logo or decal on a flat surface that aligns with the geometry. The converter handles thousands of tiny color regions faster than you'd paint them.
- You don't care which AMS slot a color lands on. Prototype prints where any-color-is-fine and you just want something on the plate.
Outside of those, painting the mesh gives you the slot assignment you actually want and clean color boundaries along real part edges. If the auto-convert smeared color past a seam, it's almost always faster to repaint the region than to fix the converter's output triangle by triangle.
Common questions
Does Layerpaint open a 3MF I already painted in Bambu Studio?
Yes. The painted triangles and the filament list are both restored on load, so you can refine and re-export a Standard 3MF without losing the original palette.
What if my OBJ has vertex colors baked in?
Layerpaint loads OBJ as geometry only. Vertex colors and texture references are ignored. If you need to preserve a sculpted color pass, let Bambu Studio's importer run first, then open the resulting 3MF in Layerpaint to clean up the regions that came out wrong.
Will my Layerpaint 3MF show up correctly in OrcaSlicer and PrusaSlicer?
Yes. The export uses the 3MF Materials Extension (<m:colorgroup>) which all three slicers read natively. Bambu Studio and OrcaSlicer also pick up the embedded filament list so the AMS mapping is automatic.
Try it now
Drop your OBJ or STL on the painter and pick your AMS filaments from the library. Painting is free; your first Standard 3MF export is free, so you can confirm the auto-converter put the right color in the right slot before paying a cent.
Happy printing. 🎨