TL;DR: No AMS? A single extruder can still print in color if every color boundary sits on a flat horizontal line you swap by hand at a pause. Layerpaint's Plane tool cuts the model into horizontal bands and the swap bar shows where each pause lands. Here's how to stripe a model and set the pauses in your slicer.
Can you print in multiple colors without an AMS?
Yes. A single-extruder printer prints in color when the filament changes only at fixed layer heights and you swap by hand at a pause — Bambu Studio, OrcaSlicer, and PrusaSlicer all support a color-change or pause command at a chosen layer. The constraint is geometry: a manual swap only happens between two layers, so every color boundary has to be a flat horizontal line. A band around a vase works; a logo on its side doesn't.
A single-extruder printer can still produce a multi-color print. The constraint is that the color only changes at fixed layer heights, and you swap the filament by hand when the printer pauses. Bambu Studio, OrcaSlicer, and PrusaSlicer all support this with a color-change or pause command at a chosen layer.
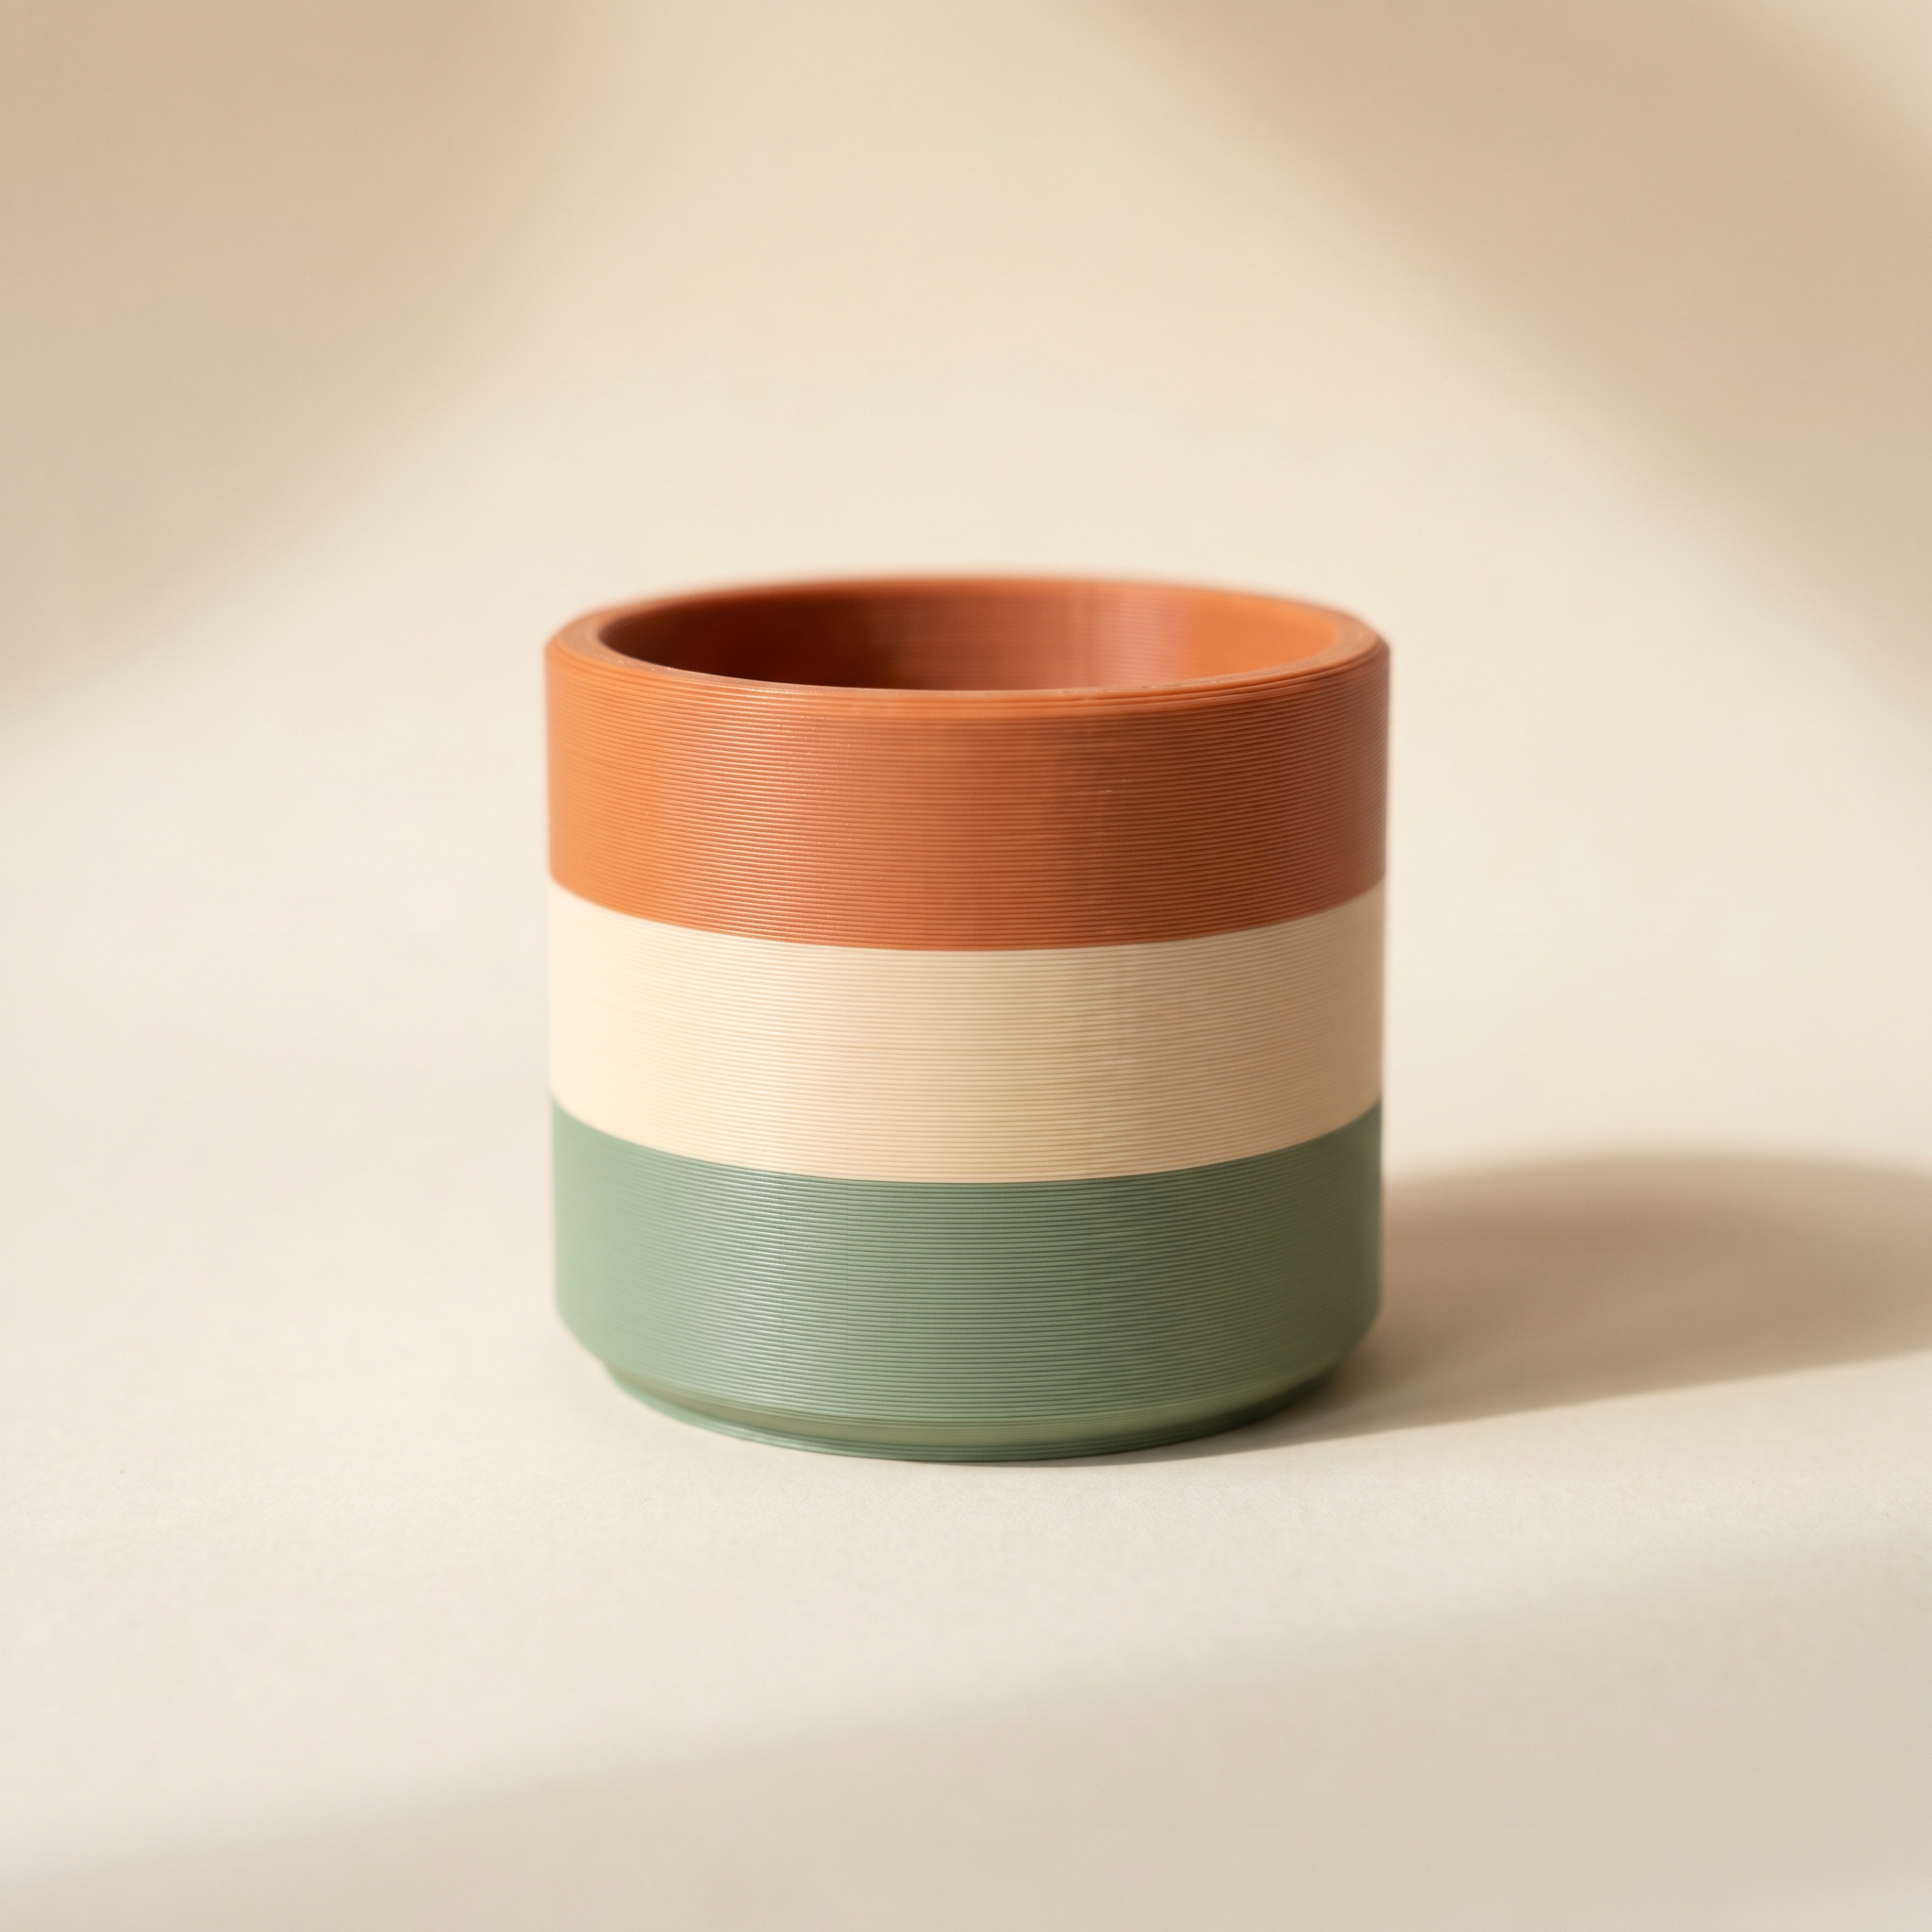
The catch is geometry. A manual swap can only happen between two layers, so every color boundary in your model has to sit on a flat horizontal line. Paint a logo on the side of a vase and a single-extruder printer can't reach it. Paint a band around the vase and it can.
Why by-height beats per-region here
With an AMS the printer switches filament mid-layer, so color boundaries can run in any direction. Without one, the printer prints a whole layer in one color, pauses, and you load the next. Every boundary becomes a single Z height.
To find the heights you want to band at, measure them off the model in the free STL viewer first.
So the painting job is different. You're not coloring a helmet or a sword hilt. You're cutting the model into horizontal slabs and assigning a filament to each slab. Layerpaint's Plane tool does exactly that cut.
Paint horizontal bands with the Plane tool
Open layerpaint.app/app, drop in your STL, OBJ, or 3MF, and select the Plane tool. It paints every face above or below a horizontal slice in one click.
Set the axis to Y · vertical — that's the build direction for most models. Pick a direction, Below or Above, then drag the Threshold slider to position the cut. A live preview overlay shows which faces will be painted. When the slice is where you want it, click your palette color and hit Paint with current colour.
Repeat for each band: move the threshold up, pick the next filament, paint above the previous cut. Three or four passes and the whole model is striped.
Keep the band count low. Each band is one manual pause at the printer, and you have to be standing there to make the swap. Two or three colors is comfortable. Eight means you're babysitting the print for hours.
Preview the exact swap heights with layer scrub
Open the layer panel and set Layer height to match your slicer — 0.2 mm is the common default. Turn on Scrub through layers and drag the position slider. The model builds up layer by layer, so you can see exactly where each color hands off to the next.
This matters because a band boundary that falls between two layers is clean, but one that splits a layer isn't reachable by a manual swap. Scrubbing shows you the real handoff height before you commit.
Count your pauses with the swap bar
Toggle Show swap bar. It slices the model into layers and reports the total filament swaps plus flush waste per layer. Each layer is one stripe on the bar at the edge of the viewport: amber means one swap, red means two or more.
For a manual-swap print you want a clean bar: mostly grey, with a single amber stripe at each band boundary and nothing red. A red stripe means two color changes want to happen at the same height, which a single extruder can't do. If you see red, move one of the bands.
Export and set the pauses in your slicer
Hit Export 3MF. Layerpaint writes a Standard 3MF with per-triangle color groups in the Materials Extension. Because every boundary sits on one layer, your slicer reads it as a stack of single-color sections.
One honest note: Layerpaint exports the colors, the slicer inserts the pause. In Bambu Studio and OrcaSlicer you'll see the color assignments on the preview and can confirm the change layers. In PrusaSlicer, the imported colors line up with the layer slider so you can check each height. The slicer is what writes the actual pause into the G-code.
Common questions
Can I do a band that isn't horizontal?
Not for a manual-swap print. You can still paint anything with the Region, Brush, or Wand tools, but only a horizontal break survives as a single pause. A diagonal or vertical boundary needs an AMS or MMU to print.
What layer height should I match?
Match whatever your slicer profile uses. If you slice at 0.16 mm, set Layerpaint's layer height to 0.16 so the scrub preview and swap bar line up with reality. The export itself is per-triangle color and doesn't depend on layer height. The height setting only drives the preview.
How many filaments can I swap by hand?
As many as you have patience for. There's no slot limit when you're swapping manually, unlike an AMS capped at four. The practical limit is your attention span, since you have to be at the printer for each change.
Try it now
Layerpaint is free to try — no account, no install, no upload. Drop a model on the painter, switch to the Plane tool, and stripe it. When you're ready to export, your first export is free, then $2.97 for 3 models or $39.97 unlimited. No subscription.
Happy printing. 🎨