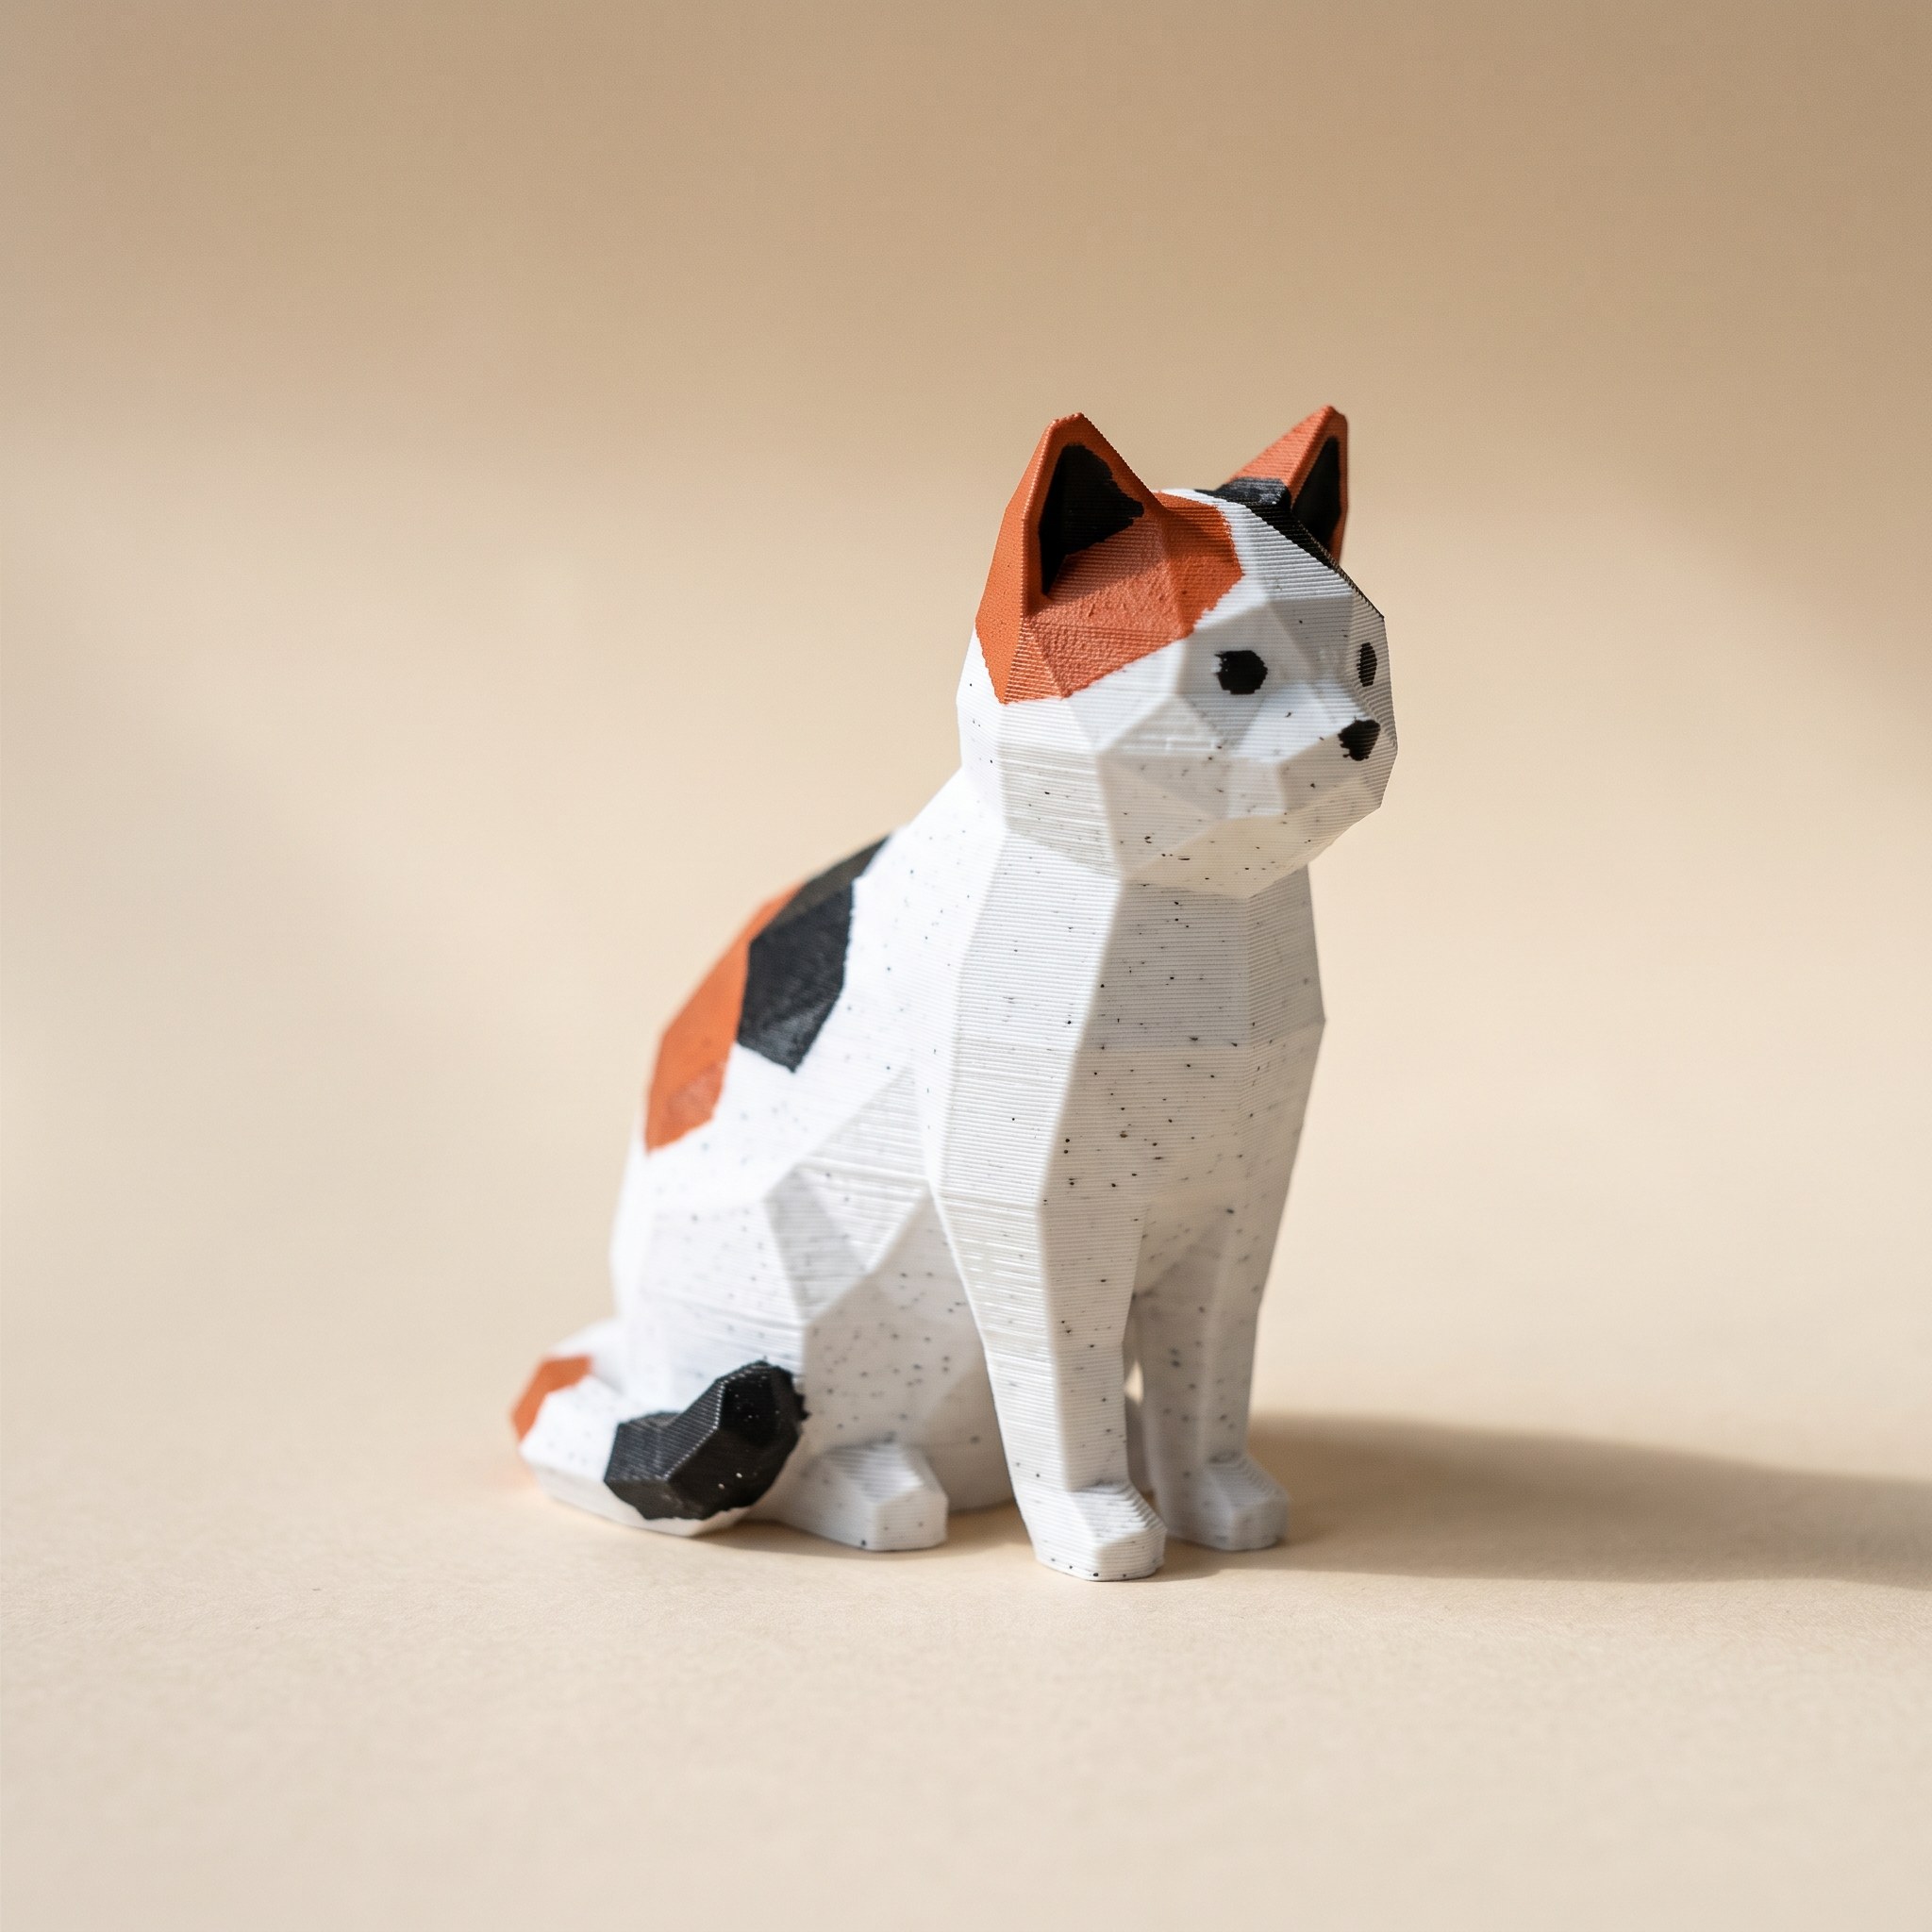
TL;DR: Color specks are stray debris, not purge carryover: nozzle drool and loose purge wisps land on the print and get fused in by the next pass. The fix that users confirmed on the Bambu forum is a package: wash the build plate, raise flush volumes for the offending color pair, set the filament change order light-to-dark, dry your filament, and add a nozzle wiper if drool persists. Below: how to tell specks apart from bleed, and each fix in order of effort.
Specks or bleed? Check before you change anything
Two different defects get lumped together as "wrong color on my print," and they have different fixes. Bleed is gradual: the first 10 to 40 mm of a new color carries a tint of the old one, strongest right after the swap, fading as the nozzle clears. That's a purge problem, covered in the color bleed fix.
Color specks are discrete. A clean surface with individual flecks of a contrasting color fused into it, at random spots, often nowhere near a color-change layer. If you can point at each defect, you have specks. The rest of this post is about those.
What causes color specks on a multicolor print?
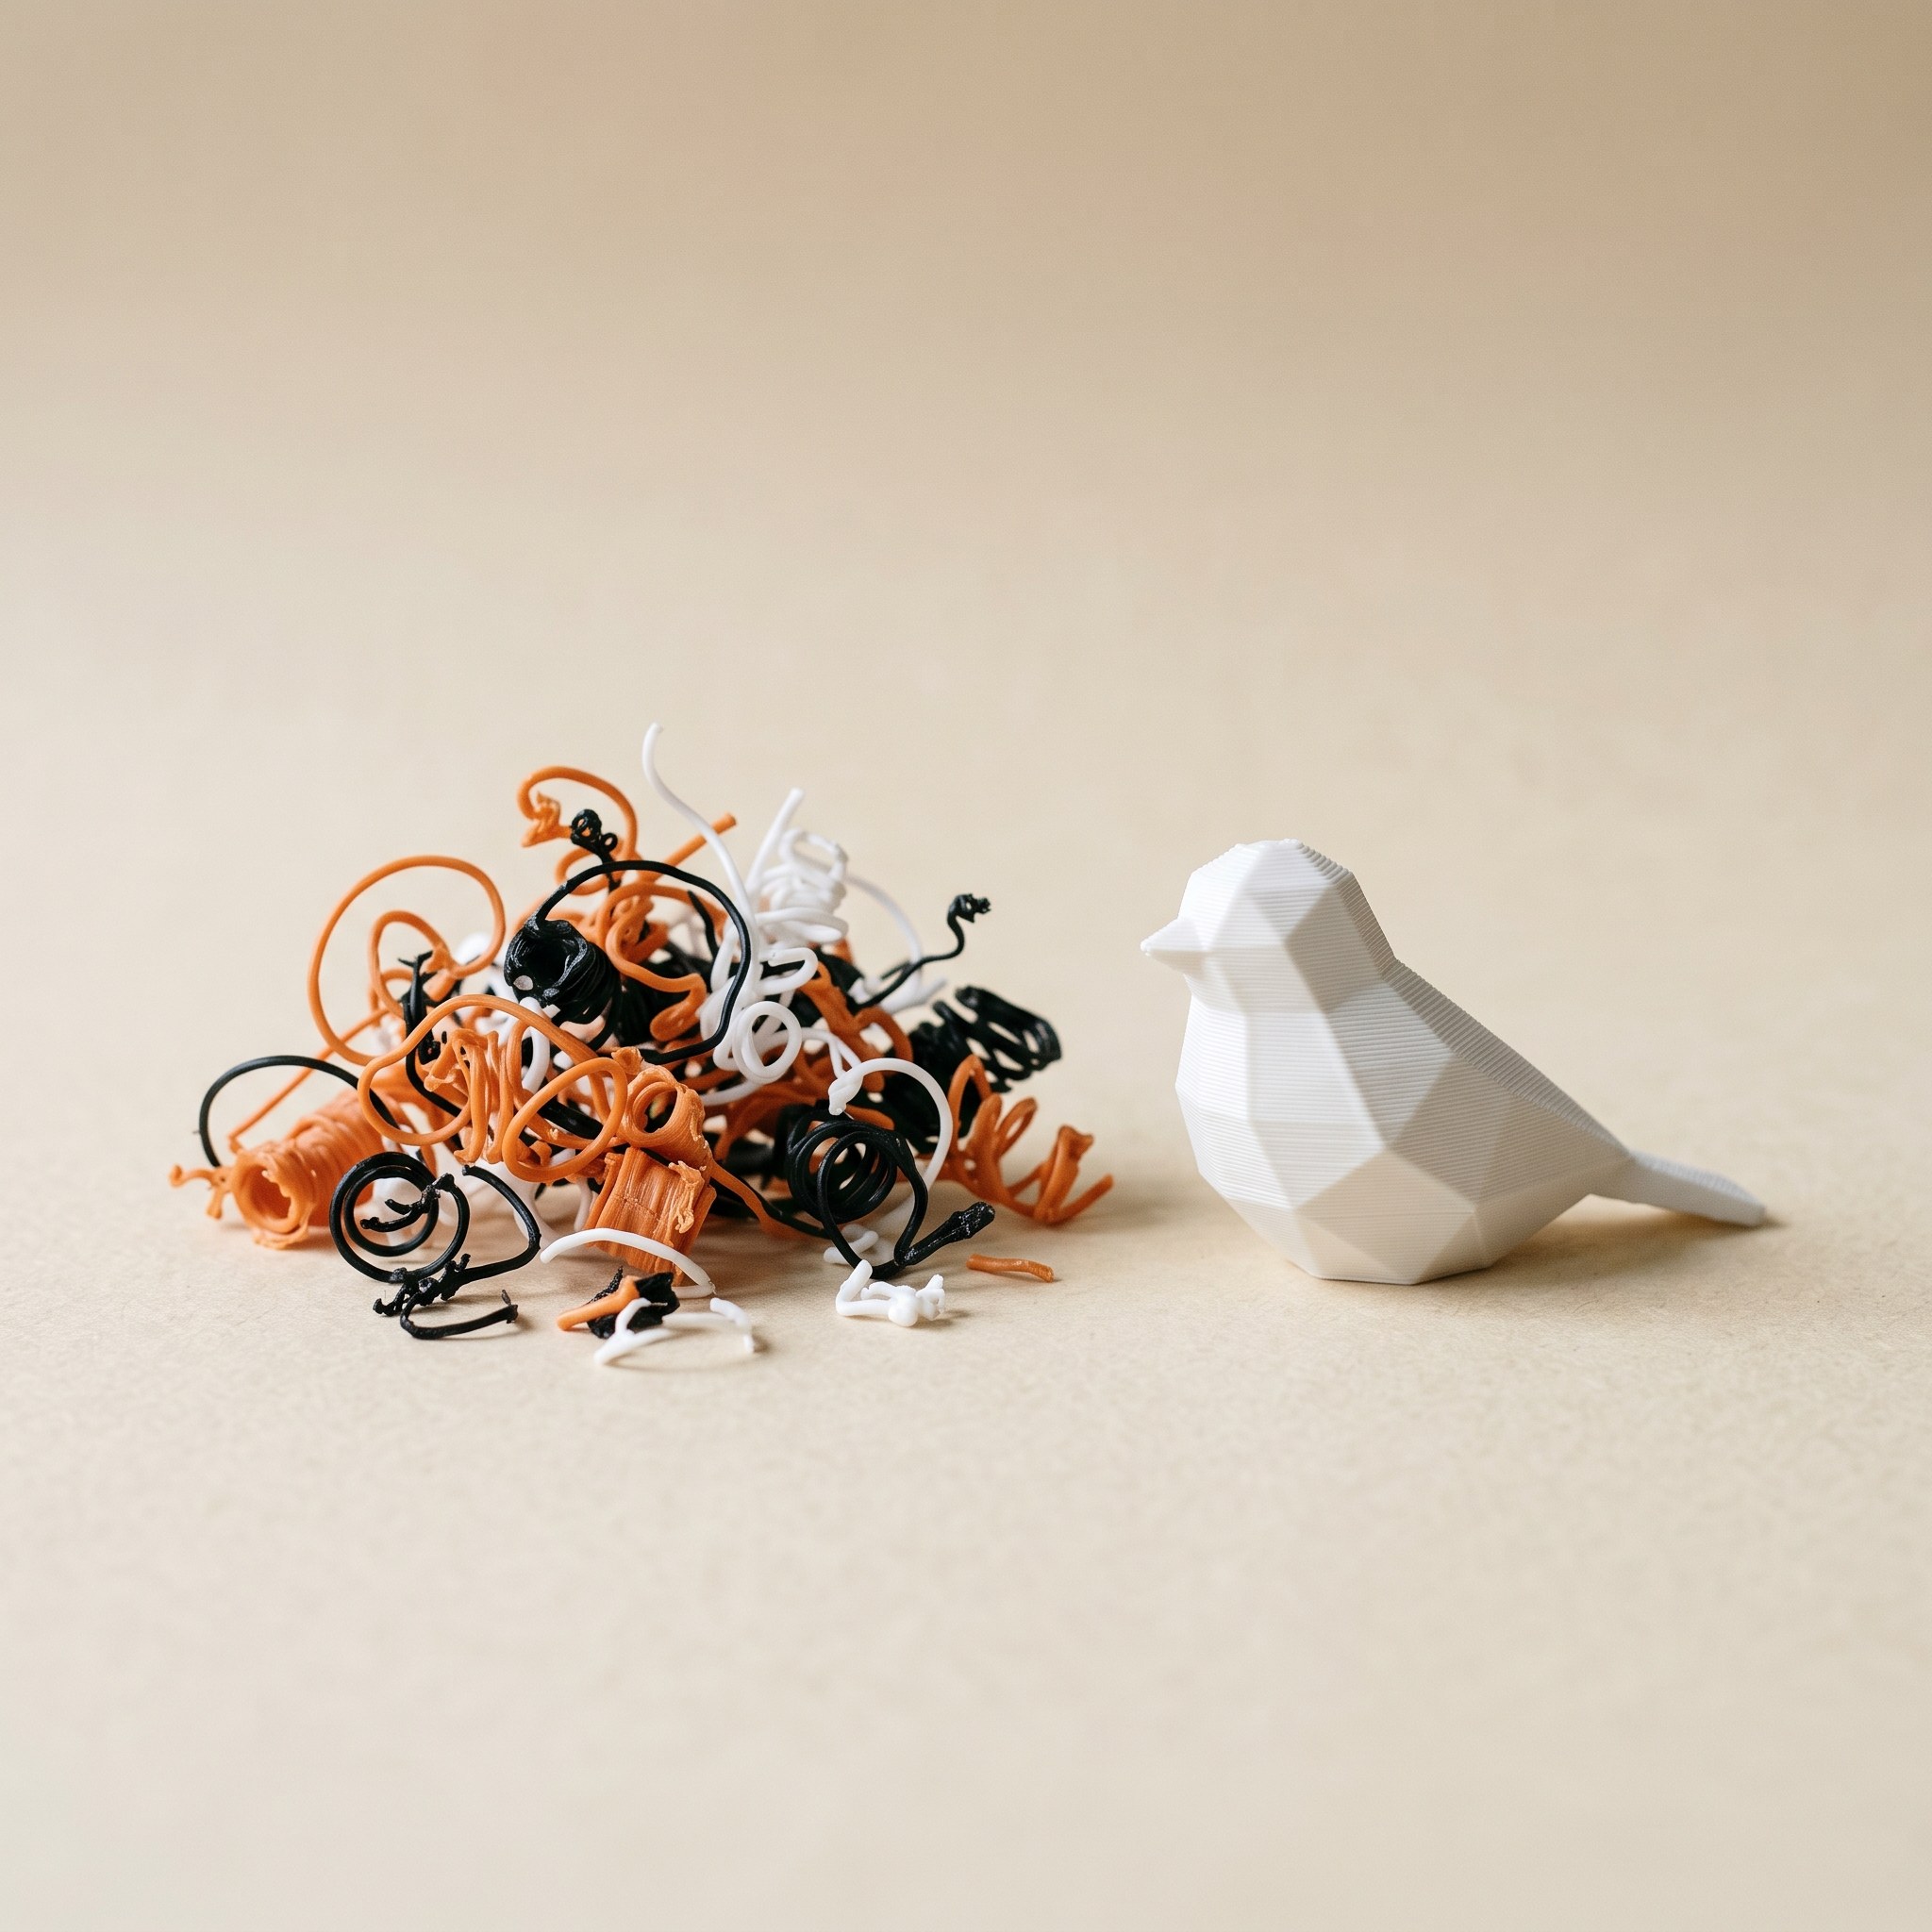
Color specks are physical debris fused into the surface. During a filament change the nozzle oozes a wisp of the old color, and purge lines can shed fragments that land on the plate or the model. The next pass of the hot nozzle presses them in permanently. Multicolor prints multiply the risk because every swap is one more ooze and one more purge, so a print with 200 changes has 200 chances to drop debris.
Single-color prints get this too, but rarely enough that nobody notices. A multicolor job on an AMS might change filament hundreds of times. Each change leaves the nozzle sitting hot with pigmented plastic in it, and each purge produces waste that has to go somewhere. Wet filament makes it worse, because moisture turns ooze into long stringy wisps that drift.
In a Bambu Lab forum thread on exactly this defect, the OP (ChuckZ) applied the combined advice, reprinted, and reported back: "It came out as close to perfect as you can get. Thank you guys. I learned a lot." Here's that package, cheapest first.
The five-part fix, in order of effort
1. Wash the build plate
Soap residue and finger oils weaken the bond between purge lines and the plate, so fragments break loose and get dragged around. Wash with dish soap that leaves no film, rinse well, and dry with a clean towel. It costs nothing and removes one whole source of loose debris.
2. Raise flush volumes for the offending pair
The thread flagged black-into-yellow as the worst offender. In Bambu Studio, open the flushing volumes matrix and raise the value for the specific dark-to-light transition that's producing flecks. If you're printing a painted 3MF, calibrating flushing volumes per pair beats raising everything globally and wasting filament.
3. Set the change order light-to-dark
Bambu Studio's custom filament change order lets you print light colors before dark ones on each layer, so any drool from the previous color is the less visible kind. Palette order also drives swap count: reordering your palette cuts both waste and the number of chances for debris.
4. Dry your filament
Wet filament oozes more and strings more, and strings become specks. If a roll has been out of a dry box for weeks, dry it before a long multicolor job. This mattered enough that the thread called it out as part of the working combination.
5. Add a nozzle wiper if drool persists
The hardware end of the package: a silicone nozzle wiper (Steinwipe was the one named in the thread) scrubs ooze off the nozzle at each change, and a quick pass with a wire brush during long prints clears wisps before they land. Try steps 1 to 4 first; most people don't need the hardware.
Diagnose from the debris color. Specks in the current color's region that match the previous filament point to ooze and purge debris. Specks of a color that never prints anywhere near the defect suggest contaminated filament or a dirty extruder path instead.
When to suspect hardware instead
If specks keep appearing after the full package, look at the filament cutter and extruder. A worn cutter blade leaves ragged filament ends that shed fragments into the path, and a shard stuck in the extruder can grind off flecks for weeks. The same forum class of reports covers marks appearing right after AMS filament changes where settings alone didn't close the case. Blade replacement is part of normal extruder maintenance on Bambu machines.
Plan the change order before you slice
Prevention starts in the paint job. In Layerpaint, the palette order you build is the slot order your slicer inherits: the first chip you add maps to AMS slot 1, the second to slot 2, and so on. Put your light colors in early slots and check the swap bar (toggle "Show swap bar") to see how many changes each layer actually costs before you commit a five-hour print to the plate.
Fewer swaps means less purge waste and fewer chances for a black fleck to land in your yellow. The paint job you export decides most of that.
Common questions
Are color specks the same thing as color bleeding?
No. Bleed is a gradual tint right after a filament change and fades as the nozzle purges clean. Color specks are individual bits of debris fused in at random spots. Bleed is fixed with purge volume; specks need the debris sources cleaned up.
Do I need to buy a nozzle wiper to get rid of color specks?
Usually not. In the confirmed thread, the plate wash, flush volumes, change order, and dry filament did most of the work. The wiper is the last resort for machines that drool heavily or run very long multicolor jobs.
Which color pairs cause the worst specks?
High-contrast pairs where the old color is dark and the new one is light: black into yellow or white is the classic. The debris is the same either way, but a white fleck in black plastic is nearly invisible while a black fleck in yellow ruins the part.
Does drying filament really reduce color specks?
Yes, indirectly. Moist filament strings and oozes more during changes, and those wisps are exactly the debris that becomes specks. Drying doesn't remove existing debris; it stops new wisps forming.
Fix it before the printer sees it
A clean multicolor print starts with a paint job that doesn't fight the hardware. Drop an STL on the Layerpaint painter, order your palette light-to-dark, and watch the swap count as you paint. Your first export is free, then $6.97 for your next 10 exports or $39.97 unlimited. No subscription.