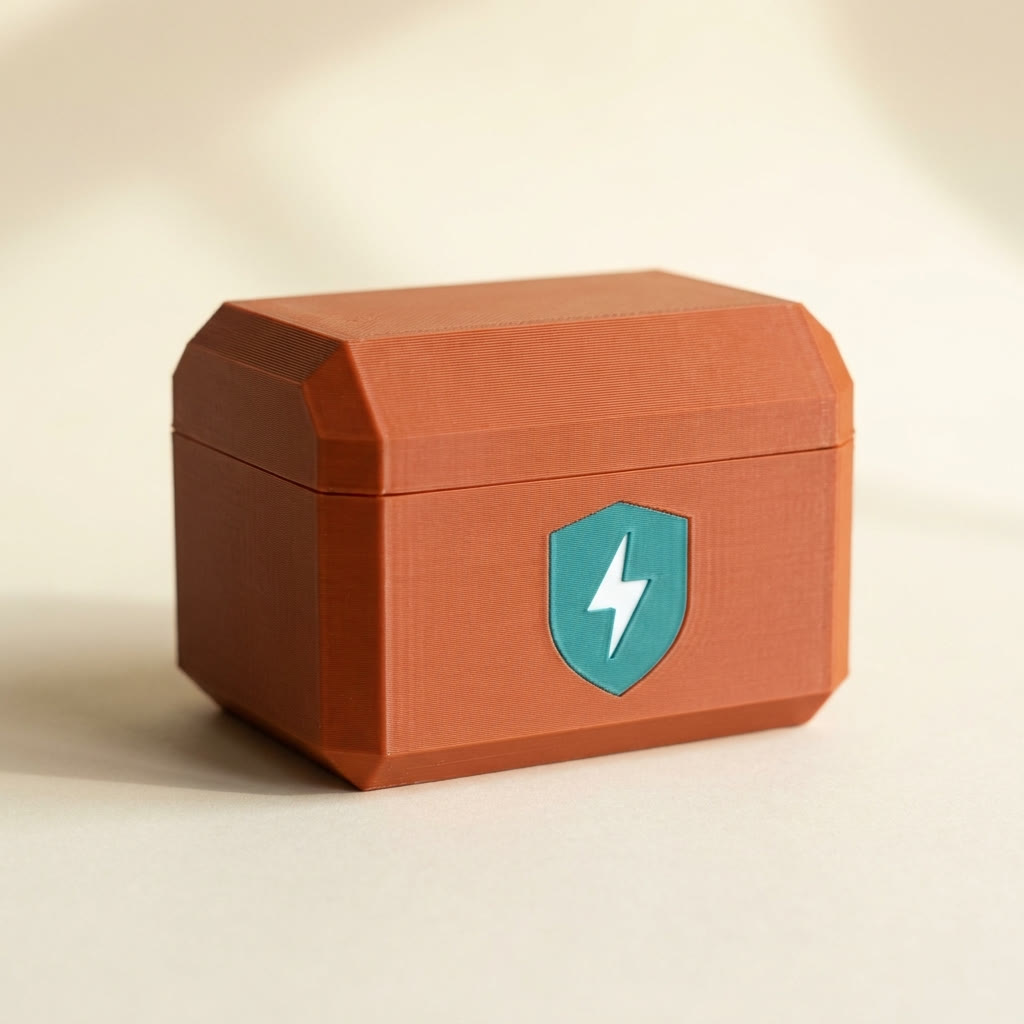
TL;DR: A 3D printed logo doesn't need CAD anymore. Open your model in Layerpaint, pick Decals, drop in the logo image, place the box where you want it, and hit Stamp. The artwork becomes printed color regions, its colors join your filament palette automatically, and the export is a Standard 3MF that Bambu Studio, OrcaSlicer and PrusaSlicer read natively. Your first export is free.
Why a logo on a print used to mean a CAD detour
Slicers can emboss text. None of them can take an image. Bambu Studio users have been asking for image import into the paint tool since March 2023, and the request is still open. So the standard workaround chain looks like this: vectorize the logo in Inkscape, import the SVG as a modifier mesh, assign a filament to each part, and hope the scaling holds up. Or rebuild the artwork from scratch in Tinkercad. There's a whole forum thread of people talking each other through it.
It works. It also takes an evening, and after all that the logo prints in one color, because the SVG route gives you shapes, not artwork. That's the distance between wanting a 3D printed logo and actually holding one.
Stamp it in the browser instead
Decals treats the logo as what it is: a picture you want on the surface, in its own colors. The whole thing takes a couple of minutes.
- Open your model in the painter — STL, OBJ or 3MF all load directly.
- Pick Decals in the toolbar and choose your image. PNG or JPG. Flat artwork with a handful of clear colors stamps best; a busy photo will want more filament slots than you have.
- Drop the background. One checkbox removes the white rectangle around the logo so only the artwork lands on the model.
- Place the box. Drag it to move, grab the corner to resize, rotate or flip if the surface needs it. Orbit the model by dragging outside the box until the face you want points at you.
- Hit Stamp. The artwork becomes painted color regions on the surface, and every color it uses is added to your palette automatically.
If the placement is wrong, undo removes the whole stamp and you go again. Nothing about the rest of your paint job is touched.
What keeps a 3D printed logo sharp when sliced
The reason a 3D printed logo normally looks ragged is mesh resolution. Paint in a slicer follows the model's triangles, so a coarse mesh averages a crisp outline into mush. Decals fixes this at stamp time: it subdivides the mesh under the artwork, adding extra detail exactly along the outline edges, so the logo resolves at close to pixel sharpness instead of triangle sharpness.
It also backs each color region with a thin solid insert, about a millimeter deep, riding invisibly in the export. Slicers cut cleaner edges from solid geometry than from surface paint, so lettering and fine linework come out of the printer looking like the screen. If the artwork's finest details would print thinner than two line widths at your model's size, Layerpaint warns you before you waste the plastic — scale the model up or simplify the art.
What people are stamping
The obvious case is the company or club badge on a part you're handing to someone — a fixture, an enclosure, a trophy, a giveaway. But the same stamp handles a mascot on a game piece, a warning symbol on a functional part, box art on a display stand, or your maker mark on everything that leaves your printer. Etsy sellers put shop marks on order after order; race clubs put numbers on shells. Anywhere you'd have reached for a vinyl sticker, a 3D printed logo does the job without the peeling.
Export a Standard 3MF and print it
Export works exactly like the rest of Layerpaint: one Standard 3MF, colors mapped to filament slots, opens natively in Bambu Studio, OrcaSlicer and PrusaSlicer. Print it on a Bambu AMS, Prusa MMU3, Anycubic ACE Pro or Creality CFS and the 3D printed logo is in the plastic, not on it — nothing to peel, fade or sticker over. If you're picking filaments to match brand colors, the filament color matcher finds the nearest real spool.
Common questions
Does it work on curved surfaces?
Yes. The artwork is projected straight onto the model, so it follows the surface it lands on. Like any projection it will stretch on faces that curve steeply away — orbit so the target surface points at you before you stamp.
Can I stamp text instead of an image?
Yes — the Decals panel has a Text tab. Type the words, pick the filament color, toggle bold, stamp. Same placement box, same sharp edges. For names on keychains and tags, there's a separate guide.
Is the logo raised off the surface?
No, it reads as part of the surface. The solid backing sits a twentieth of a millimeter proud — enough for the slicer to cut crisp edges, invisible on the printed part.
What if my logo has a dozen colors?
Auto-add will bring in whatever the artwork needs, but every color is a filament slot at print time. A flat two-to-four color version of your logo prints cleanest on a single AMS.
The stamp showed up inside my model, or on the far side. Why?
The Depth control in the Decals panel sets how far behind the surface the stamp reaches — 2 mm by default, which keeps a 3D printed logo on the face you aimed at. If a stamp ever lands somewhere it shouldn't on a hollow or thin part, lower it. Raise it — up to "off" — to wrap a decal around a sharp curve on purpose, or to paint through to an inner wall.