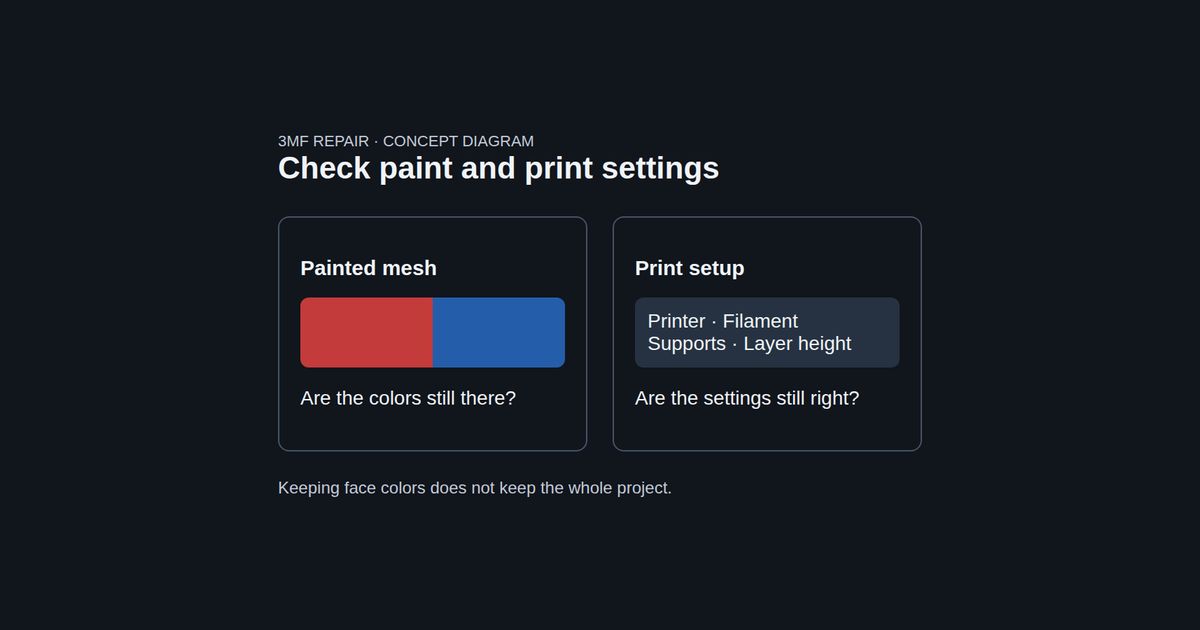
Start here: Keep your original 3MF. Try a copy in Layerpaint’s mesh repair tool, check the colors, then download as 3MF. The tool writes a new model file. It does not keep your whole slicer project, so check the printer and filament settings before printing.
What do you need to keep?
A mesh is the set of triangles that forms a model’s surface. Repair changes that mesh. A slicer is the software that turns the model into instructions for your printer.
A 3MF can hold more than the mesh. The 3MF specification defines a ZIP package with model data and other parts. A slicer may save its own data in that package. For example, PrusaSlicer’s Save Project as stores objects, settings and modifiers.
Decide which of these you need before choosing a repair route:
- Shape: the model’s size, holes and separate pieces.
- Paint: which areas use each color.
- Print setup: printer profile, filament type, supports and other slicer settings.
If all three matter, keep the original project open for comparison. A file ending in .3mf does not prove that every setting survived.
What the Layerpaint repair tool keeps
The tool can read a color for each triangle and carry those colors through repair. Newly filled areas get a color from the hole’s edge. Choose 3MF output to keep those face colors. STL output has no color data; see 3MF versus STL for the format choice.
There are limits. The current tool does not read Bambu or Orca paint that splits one triangle into smaller painted areas. Small painted details may therefore be lost. This limit is about how the file stores paint, not a fixed detail size. Check fine text, eyes and color borders as soon as the file loads. If a detail is already missing, downloading as 3MF will not bring it back.
The tool writes new settings in the exported file. Its color export writes a filament list with Generic PLA defaults. That does not mean PLA is the right material for your part. Recheck your actual material and printer profile in the slicer.
Use this tool when you can rebuild the print setup. If you need all project data kept, try your slicer’s repair option on a saved copy first, and compare the result.
A small file test: colors stayed, settings changed
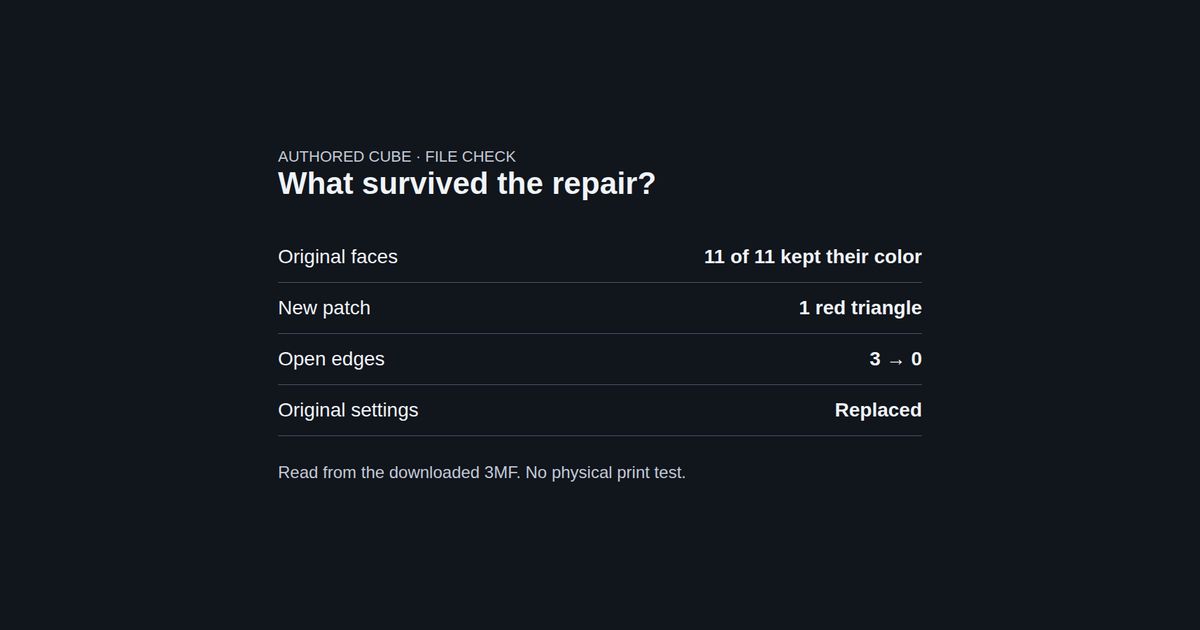
A browser test on November 13, 2026 used an authored red-and-blue cube with one missing triangle. Each side was 20 mm long. The input had 11 triangles and three open edges. The test enabled Close big openings too to fill the deliberate gap.
The downloaded 3MF had 12 triangles and no open edges. A separate check of the file found the same colors on all 11 original faces. The new face was red. The cube still measured 20 mm on each axis, though its coordinates had moved to center it at the origin, the zero point of the file’s coordinates.
The input also held test settings for PETG and a layer height of 0.17 mm. Those values were absent from the output. The new settings listed Generic PLA. These were marker values used to check what survived, not recommended print settings.
This was one simple file test. It did not test a desktop slicer, fine Bambu paint or a physical print.
Repair a copy and check the result
- Save a backup. Keep the original 3MF under its old name. Note the part’s size and take a view of its colors in your slicer.
- Open the copy. Drop it on the mesh repair tool. Rotate the model. Stop if paint or parts are missing before repair.
- Read the diagnosis. Note open edges and non-manifold edges. The latter are edges shared by more than two triangles. For more on those terms, see the mesh defect guide.
- Choose which holes to close. Leave Close big openings too off at first. Use it only if you intend to seal a large opening. Click Repair, then inspect the changed area and the before-and-after counts.
- Save the repaired file. Select 3MF under Download as, then click Download 3MF. Keep this file separate from your backup.
- Check it in your slicer. Compare size, parts and painted details with the original. Check the printer profile, filament types and supports. Check which loaded filament each color uses. Slice and inspect the layer preview before printing.
A lower error count is one check. Also look at the shape: a patch may close an opening you wanted to keep. If the result changes the design, return to the backup and choose another repair route.
When should you repaint?
If the shape is sound but paint was lost, you can repaint the repaired mesh in Layerpaint. Check the shape first so you do not spend time painting a repair you will discard. The 3MF export guide shows how to move the painted file to your slicer. Check the app’s export access prompt before saving a print file.
If the original has fine paint you need to preserve, keep it. Not every 3MF repair needs repainting.