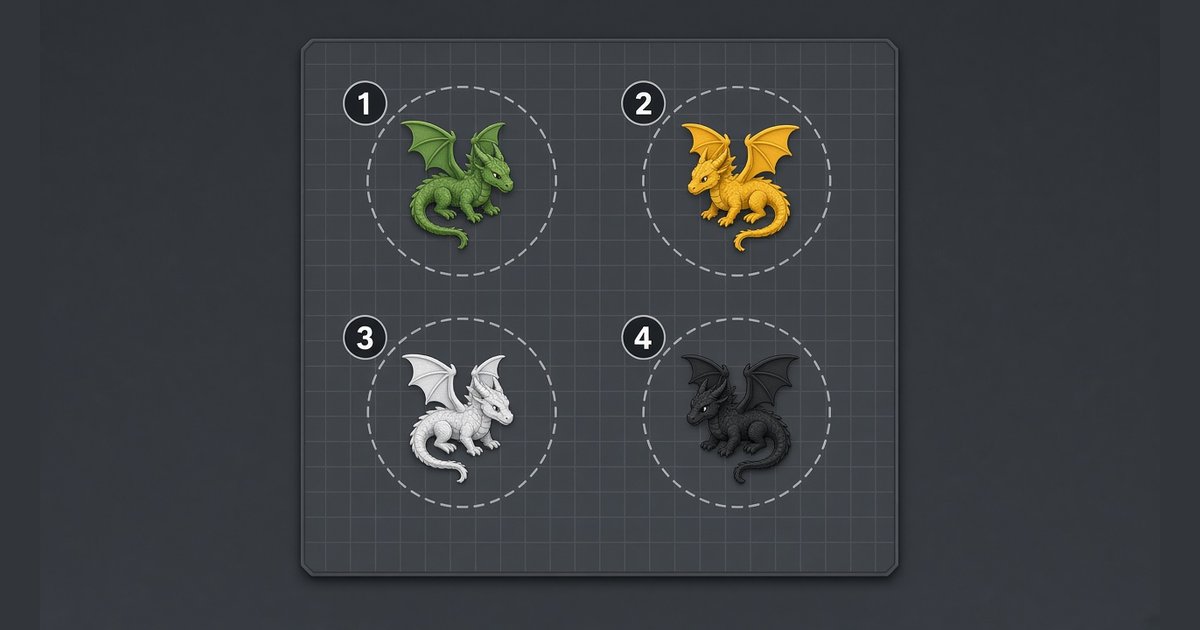
Bambu Studio print by object finishes one model completely before it starts the next, instead of building every model on the plate one layer at a time. For a single-color part, that can cut stringing and keep one failure from ruining the whole plate. For a plate of painted multicolor minis, it's usually the expensive choice. In our slicer test, four four-color copies needed four times the filament changes and about three times the filament by object compared with by layer.
Quick answer: by layer for painted squads
- One painted mini: print sequence makes no difference. Our by-layer and by-object slices were identical.
- Several painted minis with shared colors: use by layer. Every copy shares each filament change, so four minis cost about the same number of swaps as one.
- By object is worth it when the colors are few or none, when one part is likely to fail, or when you want each model finished early. It also needs much more space between models.
How to turn on print by object in Bambu Studio
Bambu's wiki page on sequential printing says the setting lives in the process settings under Special mode, as Print sequence. The default is By layer; switch it to By object.
Bambu Studio process settings, Others tab, Special mode → Print sequence set to "By object", with the version number visible
Alt text:
Once it's on, press Ctrl+E to see the order the objects will print in. To change the order, drag objects up or down in the object list. When you drag an object, Bambu Studio draws a circle around it at half the clearance radius. If two objects end up closer than the full radius, the slicer shows an error.
plate preview showing the clearance circles and print order numbers for four minis
Alt text:
The limits: height, clearance and spacing
Print by object has to avoid hitting finished models with the toolhead and the gantry, so Bambu Studio checks two things. These rules come from Bambu's sequential-printing wiki page (checked 2 November 2026), and the numbers are the X1 Carbon values in Bambu Studio 02.08.02.61's bundled printer profile:
- Spacing: objects must be at least the extruder clearance radius apart. That's 68 mm on the X1 Carbon profile, and the circle drawn on the plate shows half that distance. Auto-arrange respects the larger of your spacing setting and this radius in by-object mode, per Bambu's auto-arranging page.
- Height: any object printed before another one it shares a Y position with has to stay under the height to rod clearance (34 mm on the X1 Carbon profile). Otherwise the gantry rod would drag across it. An object that prints last among those in line with it only has to stay under the lid clearance, and the very last object on the plate only has to fit the printer's printable height.
So on a 256 mm plate, the X1 Carbon profile allows only a handful of minis at that spacing, and tall figures may refuse to slice by object at all. If Bambu Studio won't slice, those two rules are the first things to check.
By object vs by layer on a multicolor plate: our test
We sliced the same painted model four ways in Bambu Studio 02.08.02.61 for Windows, using the X1 Carbon 0.4 mm nozzle, 0.20 mm Standard and four Bambu PLA Basic profiles from the slicer's own bundled presets. The model is the dragon from Layerpaint's starter models, scaled to 30 mm tall, with four colors applied face by face. The four copies sat more than 68 mm apart so by object could slice.
| Plate | Print sequence | Filament changes | Model filament | Total filament | Purge and tower | Estimated time |
|---|---|---|---|---|---|---|
| 1 dragon | By layer | 183 | 2.6 g | 79.3 g | 76.7 g | 5h 40m |
| 1 dragon | By object | 183 | 2.6 g | 79.3 g | 76.7 g | 5h 40m |
| 4 dragons | By layer | 186 | 10.2 g | 88.1 g | 77.9 g | 6h 46m |
| 4 dragons | By object | 737 | 10.2 g | 274.9 g | 264.7 g | 20h 44m |
All figures are Bambu Studio's own slice estimates. We didn't print the plates.
What the numbers show:
- By layer, adding three more dragons added only 3 filament changes (183 to 186). On each layer, the printer lays down one color on all four minis before it swaps.
- By object, the changes roughly multiplied by four (737), because every dragon runs its own full set of swaps. Purge rose from 77.9 g to 264.7 g, and the estimate went from under 7 hours to nearly 21.
- By object produced no prime tower in the G-code. The by-layer plates had one.
Two caveats. First, the grams use the slicer's flat flush volume of 280 mm³ for every color pair. Bambu Studio's desktop app normally works out flush volumes from your actual colors, so your grams will be lower. The swap counts don't depend on that, though, and they drive the difference. Second, our colors were applied with a script rather than painted by hand. A cleanly painted mini with fewer, larger color zones will have fewer swaps, but the four-times pattern for by object stays the same.
When by object is worth it, and when by layer wins
By object can make sense when:
- the models are single-color, or have one or two colors in a few bands, so the swaps are cheap;
- one part is tall, thin or failure-prone, and you don't want it to wreck the rest. Bambu's wiki says a failed model usually doesn't affect the others;
- stringing and oozing between models is the main problem, which is the benefit Bambu's wiki gives.
By layer wins when:
- the minis are painted in several shared colors, which is the usual squad of D&D figures;
- you want the prime tower;
- the minis are taller than the height-to-rod clearance, or you want them close together on the plate.
Cutting the purge either way
Print sequence is only one lever. These posts cover the others:
- Put your palette in a better order so the swaps cost less flush.
- Change the print orientation to cut the layers where colors change.
- Flush into infill on painted 3MFs.
- Fix a prime tower that's falling over.
- Fix the flush volumes matrix size error if it appears after you add filaments.
From painted file to full plate
The workflow for a squad is short:
- Paint each mini in Layerpaint. For more on color choices, see multicolor D&D miniatures on the AMS.
- If your 3MF has several plates, use Export 3MF to keep them all. Save and Save As keep only the active plate, as explained in painting a multi-plate 3MF.
- Open the file in Bambu Studio, leave print sequence on By layer for a painted squad, and slice.
For how Layerpaint's painting compares with Bambu Studio's own paint tool, see Layerpaint vs Bambu Studio painting. For finished examples, see the gallery.
FAQ
Does print by object work with the AMS?
Yes. In our test, Bambu Studio sliced a four-color plate by object with all its filament changes. Each model simply gets its own full set of swaps, so the AMS is busier.
Why won't Bambu Studio let me print by object?
Usually the models are too close together or too tall. Objects need to be at least the extruder clearance radius apart (68 mm on the X1 Carbon profile). Any object printed before another one in line with it must stay under the height-to-rod clearance (34 mm on the X1 Carbon profile).
Does print by object save filament?
Not on painted multicolor plates. In our slices of four four-color dragons, by object used 274.9 g against 88.1 g by layer. On a single model it made no difference.
Why is there no prime tower when I print by object?
In our by-object slices, Bambu Studio's G-code had no prime tower, while the by-layer slices did. If you rely on the tower for clean color changes, stay on by layer.