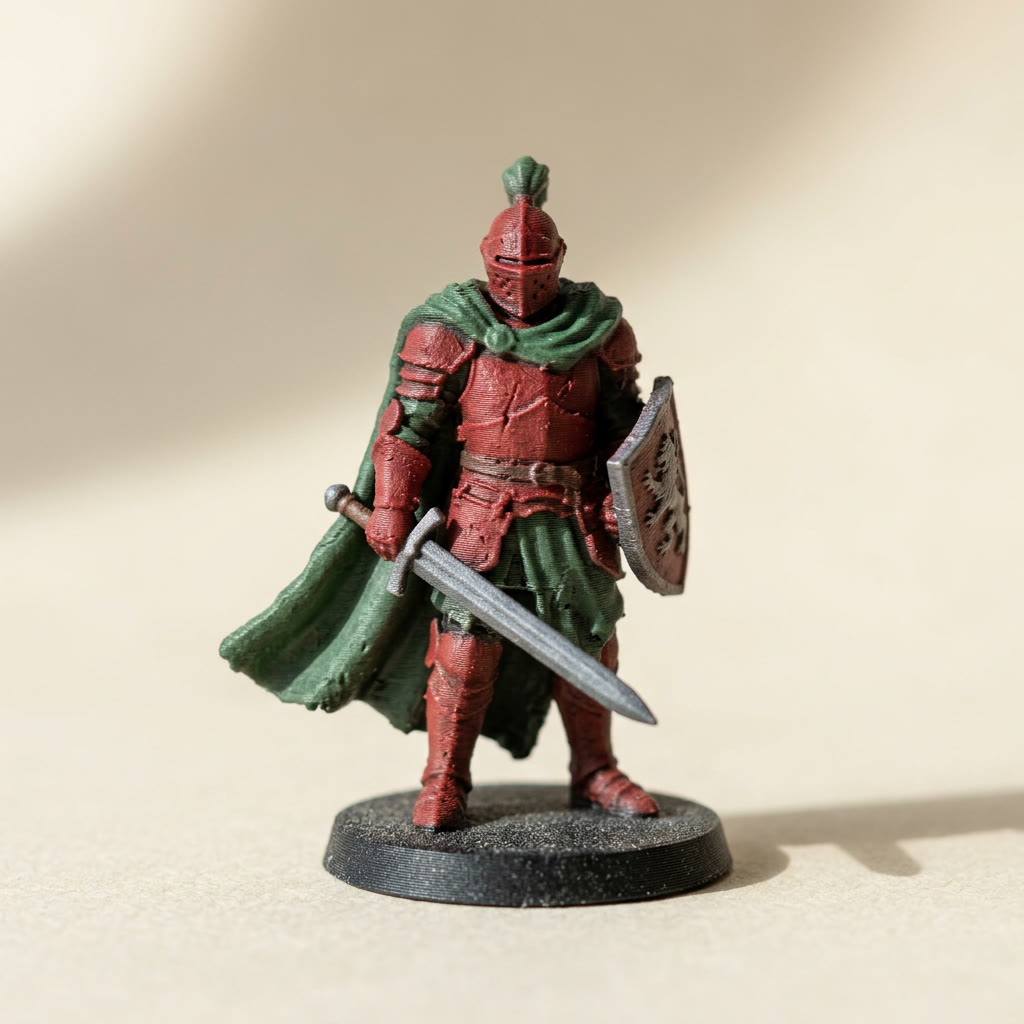
TL;DR: The fastest answer to how to paint miniatures is to stop basecoating them. Assign colors to the model digitally, export a 3MF, and let an AMS or MMU print the flat areas in filament, then brush only eyes, edge highlights and washes. Below: what the printer covers, what it cannot, and how to line Games Workshop paint names up with real filament.
Why does basecoating a squad take so long?
Almost all the time in a batch of miniatures goes on flat coverage, not detail. Priming, then two or three thin coats over armor, cloaks, skin and bases, with drying time between each one. Across ten figures that is three or four sittings before a single highlight or eye gets painted. The detail work is the part that rewards practice. The basecoating is the part that just consumes evenings, and it is exactly the part a multi-filament printer can take off you.
The useful version of the question is not how to paint miniatures well. It is which half of the job needs a brush at all. Filament color is flat and opaque, which is what a basecoat has to be. A wash needs the opposite.
How to paint miniatures without basecoating them
You color the model in a browser before it ever reaches the printer. In Layerpaint, Magic Fill is the tool that does most of the work: tap the cloak and it floods to the natural edges of that part, because the mesh is split along its own creases at a 6° threshold. Tap the armor, tap the base, pick the next color. A humanoid figure is usually four or five taps.
Where a model has no hard crease to stop at, the Border tool draws one. Drag a line across a shoulder and Magic Fill now treats it as the edge of a region. Grow fills the bare slivers left where two regions meet.
Export gives you a Standard 3MF with per-triangle color groups. Bambu Studio, OrcaSlicer and PrusaSlicer all read that and map each group to a slot, which is the same pipeline described in the Bambu Lab multi-color printing wiki. Four slots on a single AMS, more if you chain units.
Which parts still need a brush
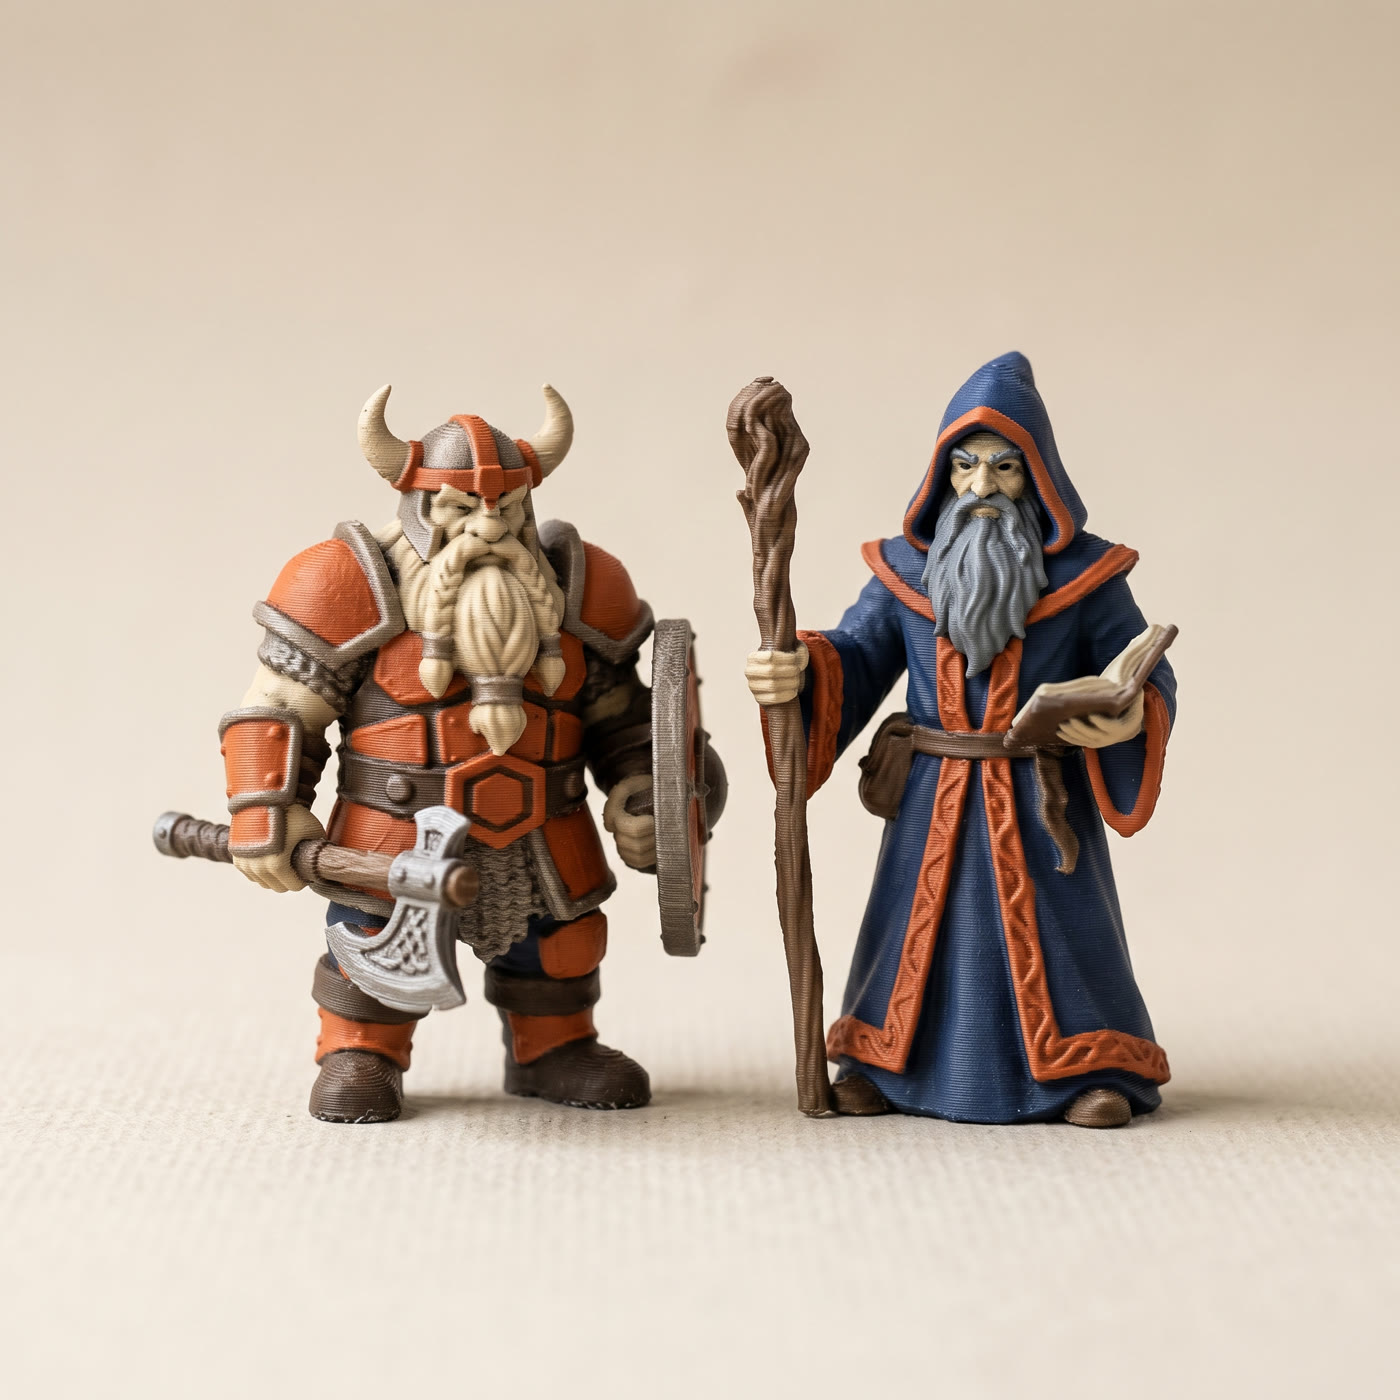
Filament color covers an area evenly and then stops. It has no gradient and no translucency, and nothing in it catches light the way metal flake does. That is the ceiling on how to paint miniatures this way, and it is worth knowing before you set expectations.
The brush still owns eyes, edge highlights, recess shading, freehand, and anything that reads as metal. A "gold" filament prints as a matte yellow-brown plastic. It is a fine basecoat under a metallic drybrush, and it is not a substitute for one. Washes are the bigger loss. A shade pooling into recesses is the cheapest way to make a figure read as painted, and no printer does it.
Can a printer handle skin tones and metallics?
Skin, yes. Matte PLA in a flesh tone prints as a clean, even basecoat that only needs a wash and a highlight to finish. Metallics, no. Filament marketed as gold or silver is pigmented plastic with no reflective flake, so it reads as flat mustard or grey under table light. Print it as the base layer and drybrush a real metallic paint over it. That takes about a minute per figure and costs you none of the time saved on the flat areas.
Lining up Games Workshop colors with filament
Most people asking how to paint miniatures already think in paint names, not hex codes. Layerpaint's filament library carries a Paint Reference set for that: Chaos Black, Mephiston Red, Macragge Blue, Caliban Green, Retributor Gold, Leadbelcher, Bugman's Glow, Cadian Fleshtone and Kislev Flesh. The hex values are approximations taken from vendor pages, so treat them as a starting point rather than a color match.
Pick the paint names you would have used, then hit Match to filaments. Every chip is renamed to its nearest real filament by brand and color and snapped to that exact hex, so what you see on screen is what will come out of the AMS. The matcher deliberately skips the paint references, so you never get a shopping list with a pot of Citadel on it. If you want to check a color the other way round, the filament color matcher does the same lookup on its own.
Working through a squad
Two habits save real time once how to paint miniatures splits into a print stage and a brush stage. Mirror painting is the first: set a Mirror axis, or use Fit mirror plane for a posed sculpt whose symmetry sits a few degrees off the model's own axes, and every stroke copies to the other side. The cursor ring turns amber over a face with no mirror partner, so you can see where the pairing runs out. Mirror painting on symmetric figures goes through the setup.
The second is watching what the color plan costs to print. Turn on Show swap bar and it counts filament swaps and flush waste per layer. Two colors that alternate up the height of a model can easily cost more in purge than in filament. Reordering which color sits in which slot is often enough to fix it, and OrcaSlicer's multi-material notes cover the flush settings that follow. Our AMS workflow for figures has the longer version.
One behavior to know before you tidy your palette: removing a chip unpaints every face that used it. The toast tells you how many, and Ctrl+Z puts it back.
Common questions
Does this replace learning how to paint miniatures?
No. It replaces the basecoating. Shading, highlighting and freehand are still hand skills, and a printed figure with no wash on it looks like a printed figure.
How many colors can I actually use?
Four per AMS, and you can chain units for more. You can also paint more colors than you have slots and then collapse the near-identical ones with Swap color before exporting, which is usually the sensible move on a 28mm figure where two greys are indistinguishable at arm's length. More colors than AMS slots covers the three ways to fit the job.
Do layer lines still show?
Yes. Printing the color does nothing for surface finish. A 0.1mm layer height and a resin-style orientation still matter, and a wash actually helps here by darkening the lines into shadow.
What do I hand the slicer?
A 3MF. It is the only common format that carries per-triangle color assignment, which is why the export is a 3MF and not an STL. 3MF vs STL explains the difference.
Try it now
Drop an STL on the painter and color a figure in the browser. No account, no install, nothing uploaded. Your first export is free, then $6.97 for ten or $39.97 for unlimited.