TL;DR: You don't have to hand-paint a 3D print to get color on it. Assign each part a filament color before you slice, and a multi-filament printer prints those colors directly, without a brush or a can of primer. It beats hand-painting on clean color blocks and repeatability; a brush still wins on gradients, weathering, and detail finer than a nozzle width. Below: how the two compare, how printing the color in works, and which slicers read the file.
Do you have to paint a 3D print to get color?
No. Hand-painting is one way to add color, not the only way. If you have a multi-filament printer (a Bambu with an AMS, a Prusa with the MMU, an Anycubic ACE Pro, a Creality CFS, or a toolchanger), you can assign a filament color to each part of the model before you slice, and the printer lays those colors down as it prints. The color is the plastic itself, so it never chips or fades. You only reach for a brush when you want effects the printer can't extrude: blends, washes, fine highlights.
Almost every "how to paint 3D prints" guide opens the same way: wash the part, prime it, sand between coats, mask the edges, then paint. That workflow is real and it works. It also takes an evening per model and a skill you build over months. Most people searching for it own a multi-color printer and never realize the printer can do the color blocking for them.
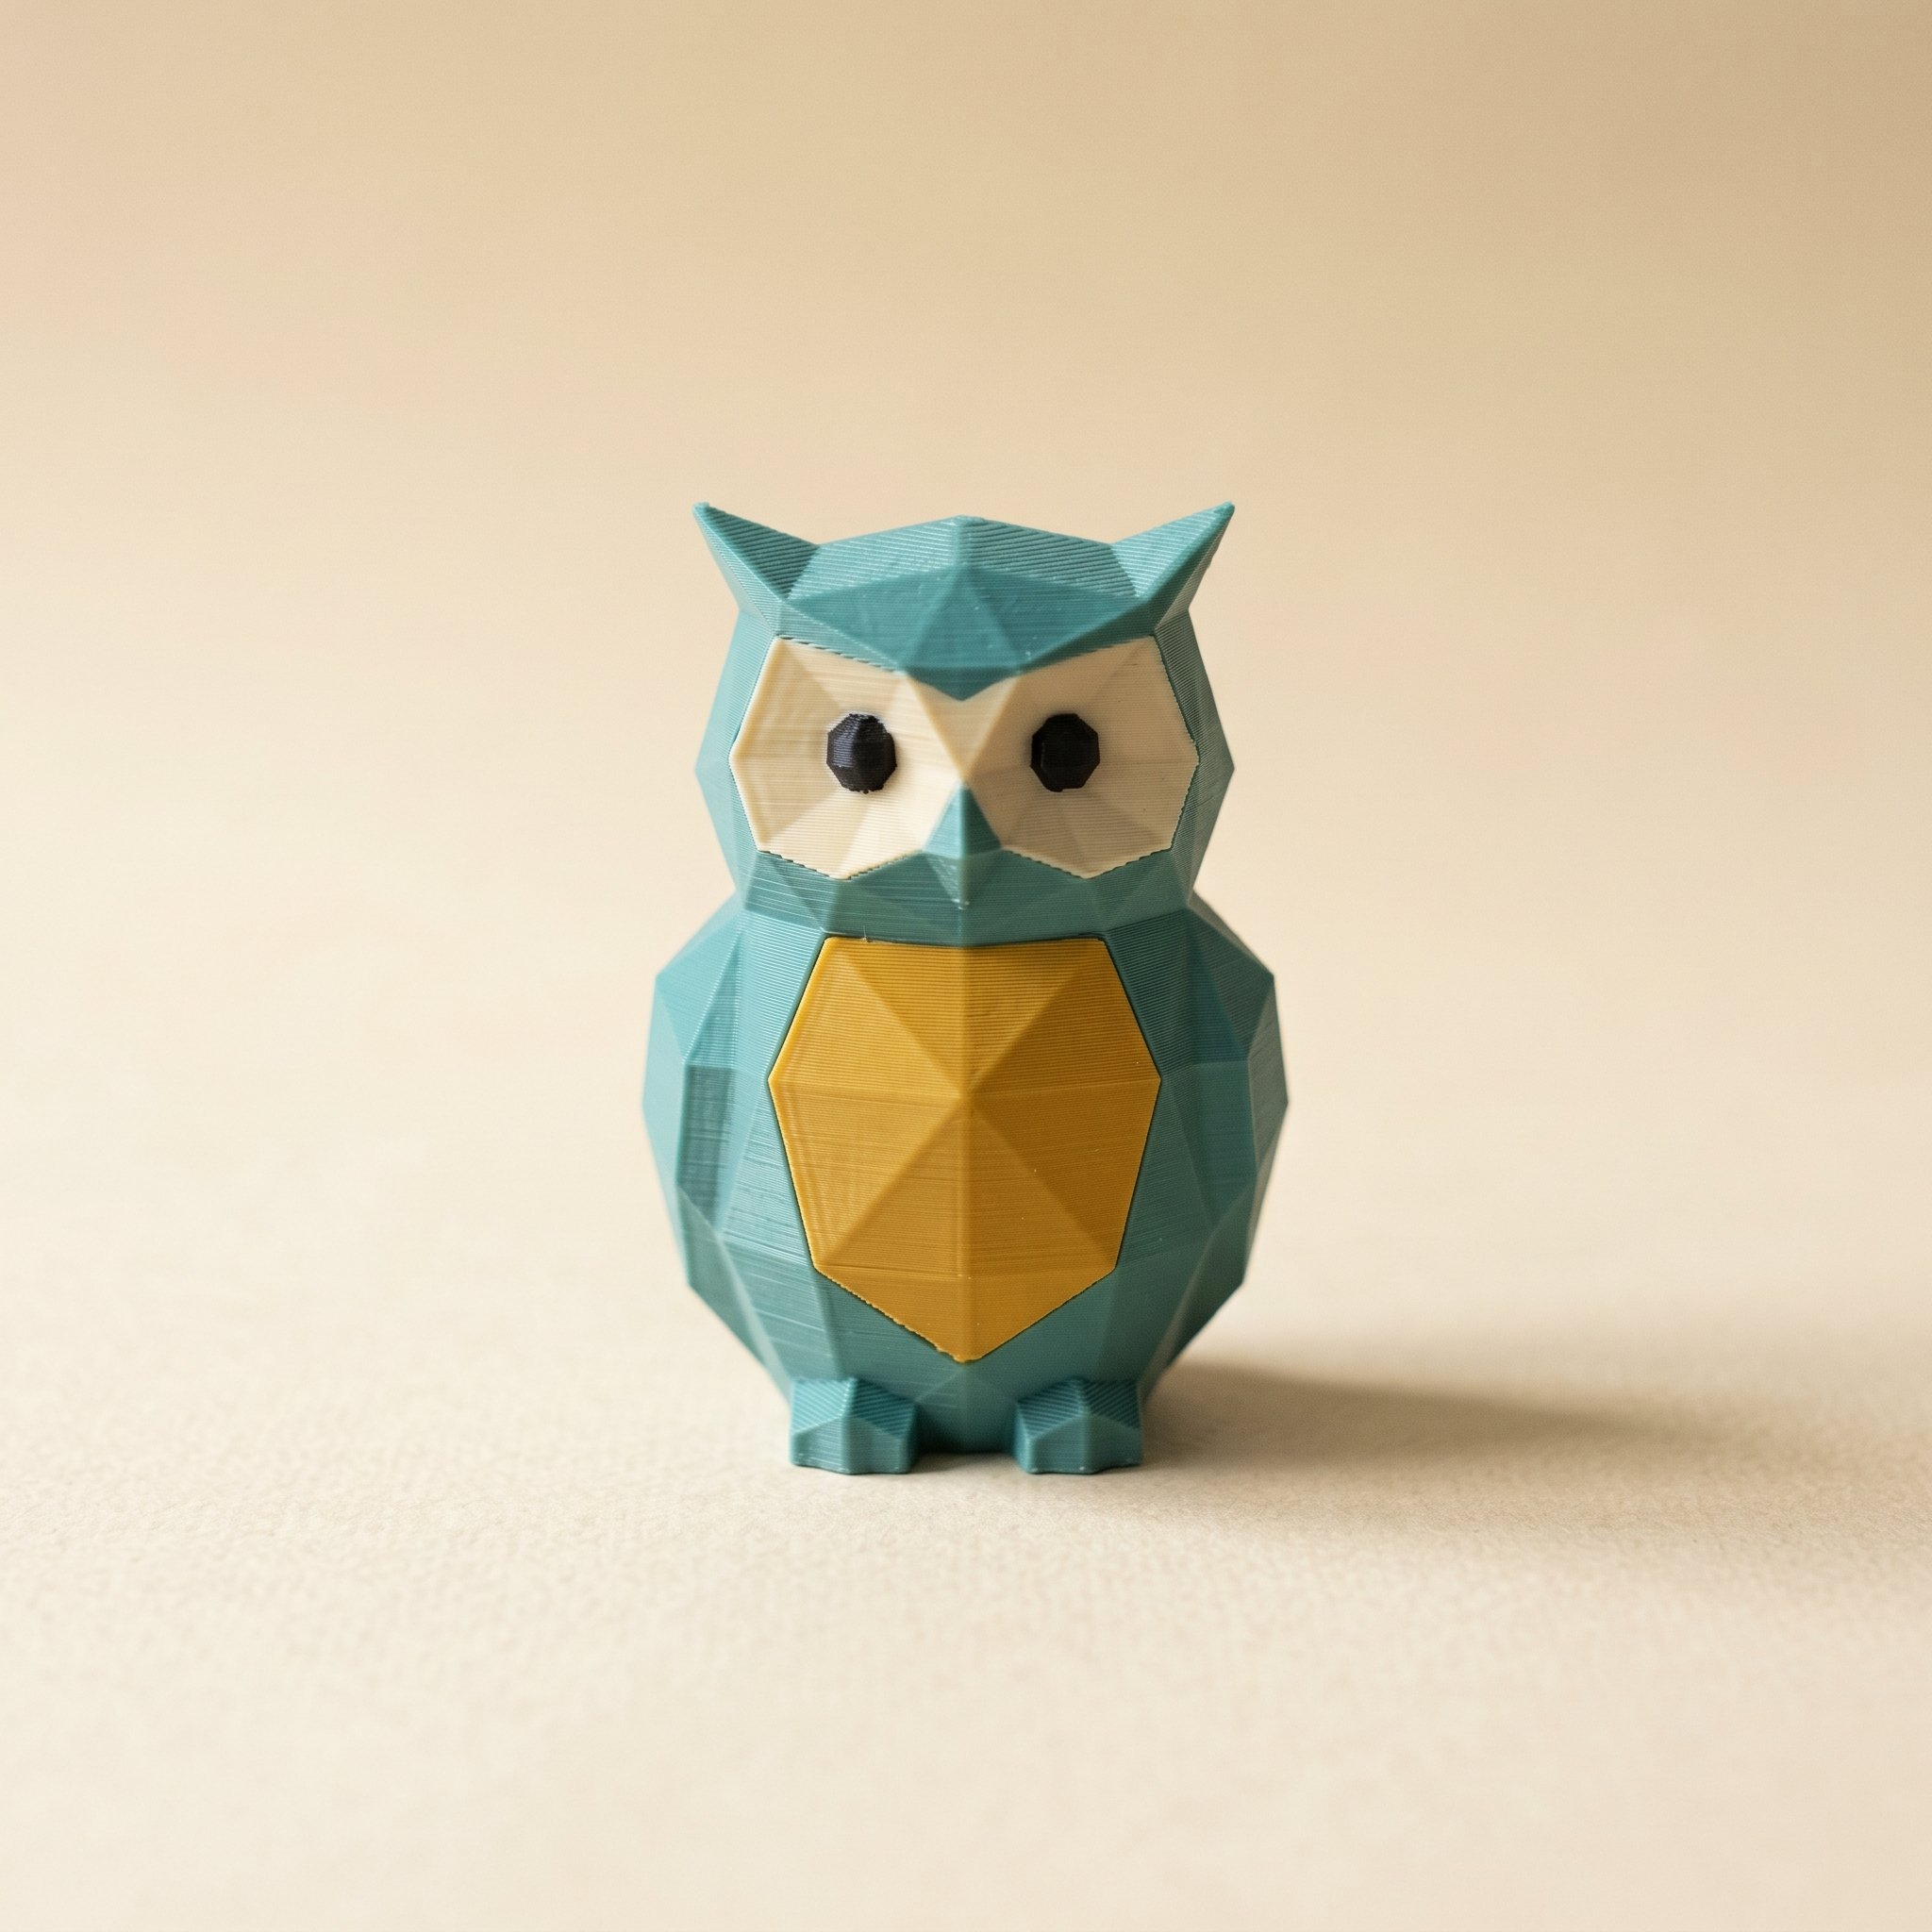
The split is simple. If your model is made of distinct color regions, like a teal body and a yellow chest, print the color in. If your model needs a painter's touch, like skin shading or rust streaks, hand-paint it. Many prints are mostly the first kind with a little of the second.
When hand-painting still wins
Printing the color in is not a replacement for a skilled mini painter, and pretending otherwise sets you up to be disappointed. A filament change gives you a hard edge between two flat colors. It can't blend one color into the next, lay a thin wash into recesses, or drybrush a highlight onto a raised edge. Anything below roughly a nozzle width also gets messy, because the printer has to commit a whole extrusion to one color.
So the honest rule: printed color owns the flat regions, the logos, the panel lines, the two-tone bodies. The brush owns the gradients and the grime. For a display piece you want to look hand-finished, do both: print the base colors, then paint only the few details that need a painter. You save the hours of base-coating and spend your brush time where it shows.
How printing the color in actually works
You need a colored file the slicer understands. A plain STL has no color data in it at all, just geometry, which is why dropping an STL into your slicer gives you a single-color model. The format that carries color is a Standard 3MF with a color group assigned to each triangle of the mesh. That's what tells the slicer which faces map to which filament.
To make one, you paint the model on screen. In Layerpaint you drop in an STL, OBJ, or 3MF, and it auto-splits the mesh along its crease edges so a whole panel becomes one clickable region. Click a region, click a filament color from the palette, and that surface is assigned. The Region tool handles most of a model in a minute; the Brush and Magic wand clean up the parts that don't break at a crease. Then you export a Standard 3MF. The slicer prints the visible shells of each region in that filament, so the color is solid plastic across the surface rather than a coat sitting on top. How far it reaches into the wall is a slicer setting, which we get into in surface color vs all the way through. Our start-to-finish paint walkthrough covers the full sequence.
You can use more colors in the model than your printer has slots. Assign every color you want, and resolve the mapping to physical slots at export. See fitting more colors than AMS slots for the merge-and-remap approach. You can even get clean color without an AMS at all on a single-extruder printer with manual swaps.
Which slicers read a colored 3MF?
Any slicer that supports the 3MF Materials Extension. Bambu Studio reads it through its Standard 3MF Color Parsing dialog and maps each color group to an AMS slot. OrcaSlicer and its forks (Anycubic Slicer, Creality Print) pick up the colors straight from the import. PrusaSlicer assigns them onto MMU2S, MMU3, or XL toolchanger slots. There's no plugin and no repainting inside the slicer. You verify the color-to-slot mapping, slice, and print.
Once it slices, the print comes out colored. The only post-processing left is whatever finish you'd give any print: a light sand, maybe a matte topcoat. No base-coating an entire model by hand to get there.
Common questions
Is a printed color as durable as paint?
More durable in normal handling. Paint is a thin layer bonded to the surface, so it can chip, scratch, or peel over time. A printed color is the filament itself across the wall shells, not a coat bonded on top, so there's nothing thin to flake off. A scuff shows the same color, not bare plastic. (A deep gouge into the infill can reach the base filament, since the slicer colors the shells, not the core.)
Do I need an AMS to print in color?
No, but it's easier with one. An AMS, MMU, ACE Pro, or CFS swaps filaments automatically, so a multi-color print runs unattended. On a single-extruder printer you can still get the colors by pausing and swapping filament by hand at the right layers, which works well for prints where the colors stack by height.
Can I still hand-paint a few details after printing?
Yes, and that's often the best result. Print the flat color blocks, then paint only the parts that need a brush: eyes, gradients, weathering. You skip the slow base-coating and spend brush time on the details that actually show.
Will I see the filament colors before I print?
Yes. The model is colored on screen as you assign filaments, and the slicer shows the same color mapping in its preview before you slice. You catch a wrong color or a missed region on screen, not after wasting plastic.
Try it now
Open the painter, drop in a model, and color it in a couple of minutes. Painting is free, and so is your first export. After that it's pay-as-you-go: $2.97 for a single model, $6.97 for three, or $39.97 to unlock unlimited exports. No subscription, no account, no upload. Happy printing. 🎨